

UV-reactive paint can give a Halloween prop a striking second appearance under blacklight. Yet a finish approved only in a dark photo may look flat, uneven or overly bright in ordinary light. Commercial buyers should evaluate both states, define the actual UV lighting setup and agree how production variation will be judged. 'Glows under blacklight' is an effect description, not an inspection criterion.
This guide focuses on finish approval for commercial displays. It does not prescribe lamp exposure, electrical installation or material safety for a particular venue. The buyer's venue and qualified advisers should review those issues separately. The article uses hypothetical examples and recommends sample tests; it does not claim that BooAri has certified a specific UV-reactive material or delivered a documented customer effect.
Decide what the UV effect should accomplish
State whether blacklight is the main visual feature, an accent that reveals hidden markings, or a way to increase the visibility of a prop in a dark scene. These choices affect where reactive material is placed and how much is needed. A face with every surface fluorescent can lose shape; a few controlled edges may make the sculpt more legible. The creative team should name the intended visitor reaction before the factory chooses a coating.
Map the viewing distance and light direction. A small test panel photographed close to a lamp may appear much brighter than the full-size prop at the visitor point. Ask the venue team to provide lamp type, planned position and surrounding ambient light for a representative trial. Do not approve from a supplier's studio image without knowing the conditions.
Consider the off state. A retail display may be seen in daylight before blacklight turns on. A horror scene may use ordinary work lights during maintenance. The finish should remain coherent in those states even if the UV reveal is the creative highlight. A concept that works only while a particular lamp is operating needs a fallback plan.
Mark reactive zones on the sample
Use an annotated drawing: eyes, bones, cracks, lettering or costume edges. This is more precise than asking for 'more glow'. For each zone, identify the base colour, reactive overlay and boundary. The factory can then make a controlled sample and the buyer can judge whether the effect supports the character. Record any area intentionally left non-reactive to preserve depth.
Test a physical panel under two lighting conditions
Ask for a panel made with the proposed substrate, coating and application method. Review it under neutral white light and under the venue's intended UV source. If the prop uses textured foam, molded plastic and fabric, one panel may not represent them all. Material absorption, surface roughness and coating thickness can change the visual result. A sample set should cover the relevant surfaces.
Use consistent camera settings for comparison. Automatic exposure can make a weak effect appear vivid in one photograph and a strong effect look dull in another. The most important judge is a person at the intended viewing position during a controlled trial. Photographs document the result; they do not replace that observation.
Check transitions. A fluorescent crack painted over a dark base may show unwanted brush edges in ordinary light. A glowing fabric strip may look disconnected from the sculpt. Ask whether the same visual boundary is acceptable in both states. If not, revise colour or placement before committing to volume production.
Specify variation without pretending paint is identical
Hand-applied UV accents can vary between units. The buyer should agree an acceptable range using physical boundary samples and annotated photographs. Define focal areas that must remain consistent and background textures that may vary naturally. A face marking that identifies the character needs tighter control than random distress marks on a tombstone base.
Name unacceptable results: missing reactive areas, unintended overspray, visible drips, poor adhesion, large tone differences between a set, or a finish that rubs off during normal approved handling. These are examples, not universal defect thresholds. Each product needs its own criteria, material instructions and intended use.
If the prop will be cleaned frequently, test the intended method on the reactive finish. Some coatings may change appearance when wiped or exposed to a cleaner. Follow the actual material supplier's instructions and document the trial. Do not infer durability from one short UV demonstration. The broader CPSC manufacturing best-practice guidance supports using controlled processes and records rather than broad unsupported claims.
Coordinate lamp and prop responsibilities
The prop supplier can make and document the reactive finish. The venue's lighting provider owns the lamp selection, power, mounting and site operation unless those services are explicitly contracted. The quotation should say whether any UV lamp is included. A buyer should not assume that a 'blacklight prop' arrives with a complete lighting system.
Ask for the intended lamp setup during sample review and state when the final venue setup may differ. If the venue changes source type or distance, the effect should be retested. A sample approved under one lamp is not a guarantee under every source that emits some ultraviolet energy. The lighting team should also review visitor exposure and applicable safety requirements.
Plan maintenance. Will staff need to reapply coating, replace a panel or clean dust from the surface? If a repair patch has a different reactive intensity, it may become conspicuous under blacklight even if it looks fine in daylight. Keep an approved finish panel and a supported touch-up procedure for the specific material where feasible.
Connect factory checks and shipment inspection
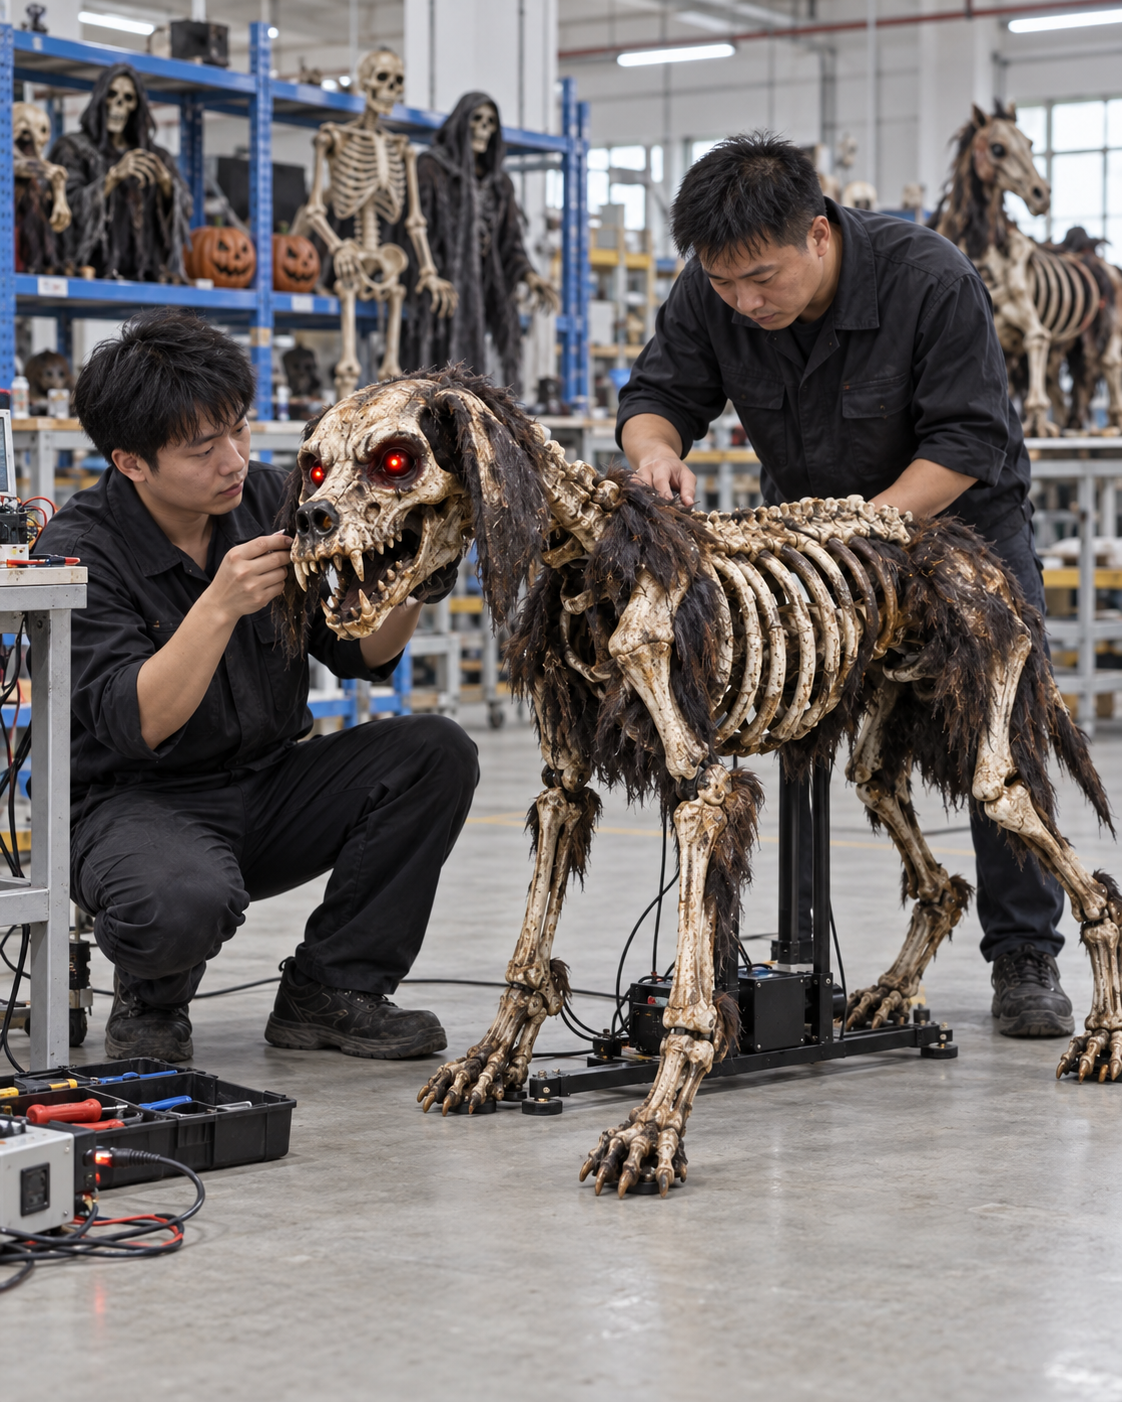
At factory testing, photograph or film the approved sample in neutral and UV lighting with the setup recorded. Show the full prop, not only a glowing close-up. For a batch, compare selected production units with the sample under the same conditions. A change in lamp position during inspection can create a false impression of inconsistency.
At shipment inspection, verify finish zones, packed protection and accessory count. Reactive paint on protruding features may rub against packaging. Inspect the actual production packing rather than assuming the sample will travel unchanged. If the product is also animated, run its agreed function test separately; the UV effect does not prove the mechanism works.
The low-light finish approval guide addresses overall dark-scene appearance. This article focuses on a controlled UV response and its off state. Both can be relevant to one prop, but the approval records should make each question clear.
Decision example: a skeleton that glows too uniformly
Imagine a fictional attraction ordering a blacklight skeleton. The first sample is coated entirely in fluorescent white and becomes a flat bright shape in the dark scene. The creative team wanted individual bones and cracks to stand out while the body recedes. It marks reactive zones on the drawing and asks for a revised panel with a less active base. This is a hypothetical design example, not a BooAri case.
The revised skeleton looks more dimensional under the venue lamp and remains plausible under maintenance light. The buyer approves the finish using two lighting states and keeps the panel as a production reference. At shipment inspection, selected units are compared under the documented lamp setup. The process values a controlled artistic effect, not the maximum possible glow.
If a later venue uses different lamps, it repeats the trial rather than blaming the supplier for a changed effect without evidence. The physical finish and the lighting system share responsibility for the visual outcome.
Buyer worksheet: approve the two-state finish
For each material zone, record the substrate, base finish, reactive colour, application method and intended effect. Attach annotated images and a physical sample identifier. Note the lamp model or type, distance, angle and ambient conditions used for approval. Record the visitor viewing position and what should be visible when the lamp is off.
Define an inspection sequence: neutral-light review, UV review, handling or cleaning trial if relevant, then a full-scene check. Assign approval to the buyer's creative and operations teams. If the finish is changed after approval, decide whether a new panel and scene trial are required.
Before production, confirm whether the lamp is in the prop quotation and who installs it. Before shipment, check that reactive areas are protected in packing and that finish instructions reach the venue. These handoffs keep a visually special coating from becoming an unclear operational promise.
Run a batch-equivalence check, not only a hero-sample check
Reactive finishes can vary because the base coat, substrate, coating application and drying conditions differ. Ask the supplier to identify which process steps control the effect and to retain a reference panel from the approved sample. During early production, compare several units from the actual batch under the documented lamp setup. If one appears significantly weaker, investigate whether the difference is material, application or illumination before adjusting everything by eye.
Check the prop as a set. A graveyard scene might contain several bones, stones and fabrics. Even if each piece is visibly reactive, a single very bright panel can dominate the composition and hide the intended focal character. Lay out representative units in their approximate installed relationship. Approve the balance, not just individual fluorescence. This matters for venues buying multiple copies, where one mismatched component may draw attention for the wrong reason.
Protect the accepted coating through packing and handling. Ask whether tissue, foam or film can touch the reactive surface during transport, and whether pressure marks become visible under UV. A neutral-light shipment inspection may miss a rubbed area that glows differently. Include a UV check on selected packed-production units where the effect is a key purchase feature. Record both the opened pack condition and the lighting setup used for the check.
The venue's operating plan should include lamp maintenance and scene checks. If a lamp ages or is replaced with a different model, the finish can appear to change even though the prop has not. The lighting team should document equipment and position; the prop team documents the finish. When a complaint arises, compare both variables before repainting. Keep the original approved panel protected from routine use so it remains a meaningful reference.
If a visitor can touch the prop, also review ordinary-light texture and cleaning. A finish that looks spectacular under UV but transfers colour on a hand is not ready for high-contact use. Define the intended product application in the RFQ and request an appropriate sample trial. The supplier can propose materials and a care method, while the venue evaluates the actual contact pattern and local requirements. The special effect should never obscure the basic product decision.
Questions after a blacklight production check
Are the approved reactive zones present on every selected sample? Does the ordinary-light finish still look intentional? Has the same lamp position and camera exposure been used for comparison? If the production result differs, investigate the base coat, material and process before adding more fluorescent paint. An uncontrolled correction can make the batch less coherent.
Check the pack after opening a selected carton. Rubbing against an insert may change the glow pattern even when the surface looks acceptable under white light. Record the finish and pack revision together. Send the venue a reference of the approved setup so later lamp changes are not mistaken for a prop defect.
Approve service touch-ups in both lighting states
A venue may repair a scuff under ordinary work light and later discover a dark patch under blacklight. Keep an approved sample and a manufacturer-supported touch-up method that the operations team can test first. If the repaired area still differs, decide whether it is acceptable from the visitor position or whether a replaceable component is needed. Document the decision for the next shift. Do not let an unrecorded field repair become the new visual standard for a production reorder.
If a coating or lamp supplier changes, treat the new combination as a fresh approval question. A similar product name does not prove the same visual response.
Frequently asked questions
Are all fluorescent paints suitable for any Halloween prop?
No. Suitability depends on substrate, coating, handling, cleaning and the intended site. Request a representative sample and follow the material supplier's instructions rather than assuming a generic paint label answers those questions.
Can I approve the finish from a phone photograph?
A photo helps communication, but auto exposure and white balance can distort the effect. Review a physical panel under the intended lighting, especially when colour or brightness is central to the design.
Is a UV lamp included with a blacklight prop?
Only if the quotation explicitly lists it. Separate the supplied prop finish from venue lighting equipment, power and installation responsibilities.
Should the prop look good under ordinary light?
Usually yes if visitors or staff will see it with UV off. Define the off-state appearance in the product brief and test both states before approving production.
How is production consistency checked?
Compare selected units with an identified approved panel under the same neutral and UV setup. Use named focal zones and acceptable boundary examples; avoid judging from unrelated photographs taken under different lamps.
Conclusion
Blacklight Halloween props need a two-state approval: the physical object under ordinary light and the intended reveal under a documented UV setup. Controlled zones, material samples and clear lamp ownership make the effect reproducible enough for a commercial order without exaggerating what a studio photograph proves.
Send your scene-light plan, product reference and required quantity through BooAri's custom enquiry. Ask for a representative finish panel and an approval test that covers both lighting states.
Further reading
Use these external resources alongside your local market, venue and professional safety requirements:
READY TO START A PROJECT?