
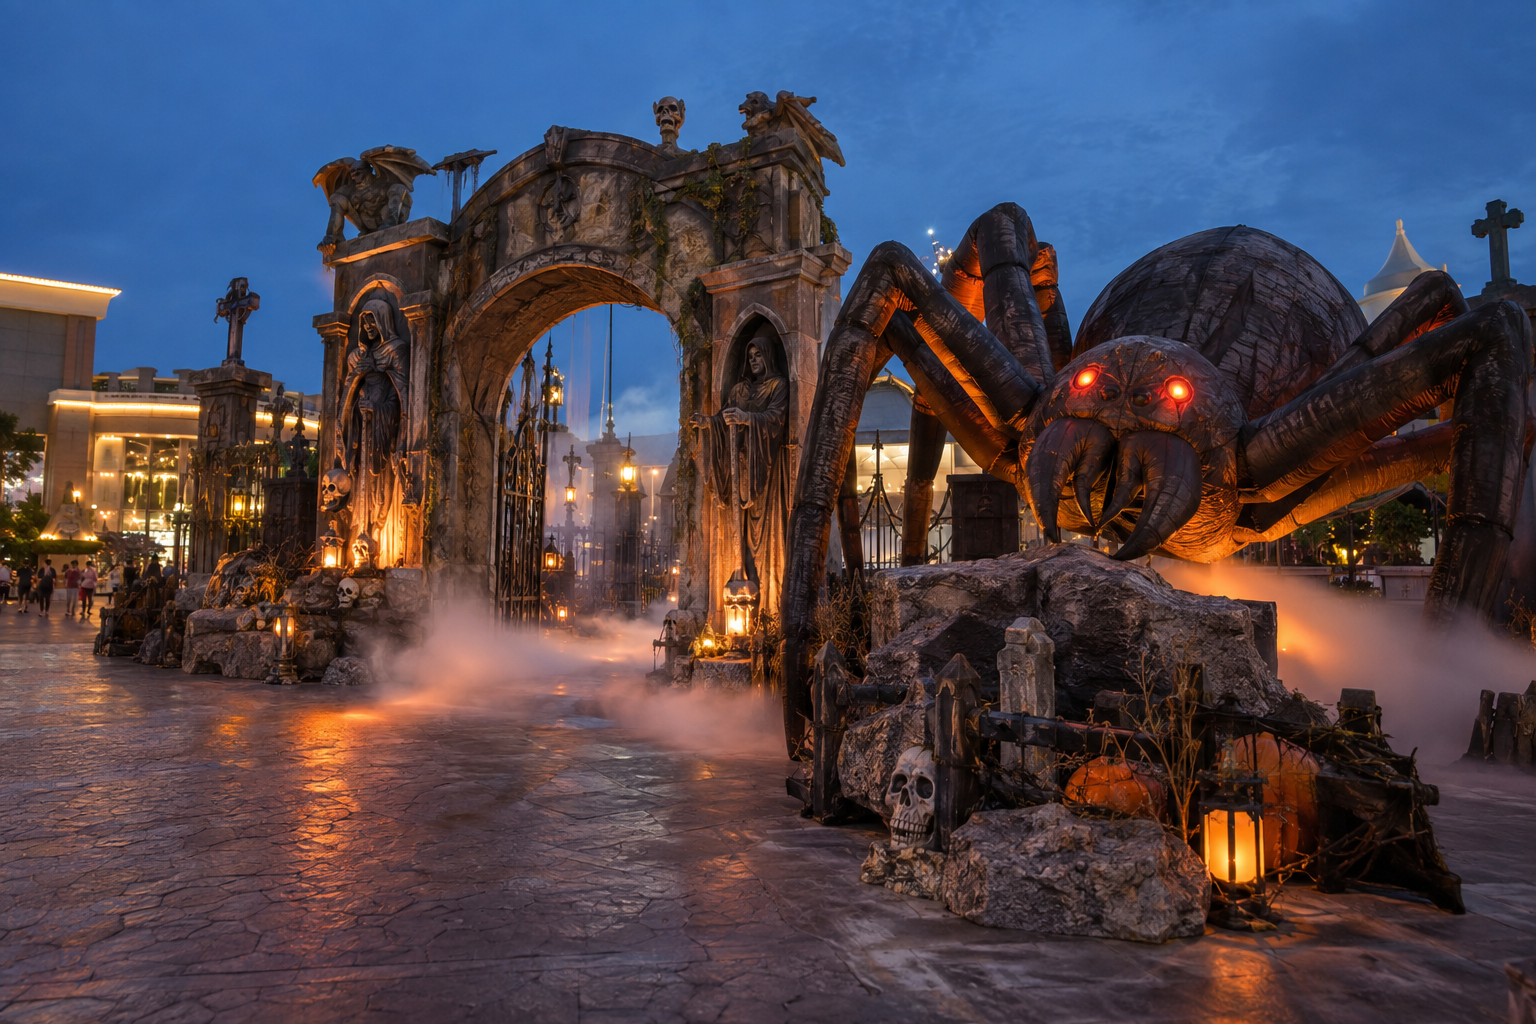
A custom Halloween event prop should convert a brand or venue brief into a physical visitor moment. That may be an entrance, photo opportunity, product-launch scene or walk-through activation. The project becomes easier to quote and deliver when the creative goal is paired with practical site information.
This guide outlines a B2B process for developing custom Halloween event props from reference image through sample approval, factory testing, shipment inspection and installation preparation.
1. Define the visitor action first
Describe what a visitor should notice, do or photograph. A branded entrance requires a different prop configuration from a photo zone or an interactive reveal. The requested action helps establish scale, viewing distance, visitor clearance and the supporting scene elements.
Share a simple layout, opening date, target market, quantity and any non-negotiable dimensions. These constraints are more useful than a general request to make the display premium because they can be reviewed against a proposed build.
2. Separate fixed requirements from creative options
Fixed requirements may include the entrance width, brand colours, required message placement, quantity or delivery date. Open choices may include surface texture, light direction, costume detail or supporting props. Separating these early lets the supplier propose options without changing the core brief.
Reference images are useful for visual tone but do not define structure, packaging or operating access. Ask the supplier to identify the missing decisions before the project moves into sample development.
For related product directions, explore BooAri's Halloween prop collection, discuss a custom project or review the factory workflow.
3. Use approval milestones for the parts that matter
At product-direction stage, approve the visual approach, key dimensions and expected function. At sample stage, focus on elements difficult to change later: silhouette, finish, lighting position, branding treatment and modular connections.
Keep approvals in a dated record. This helps an event, marketing and procurement team stay aligned and gives factory testing a specific product revision to reference before shipping.
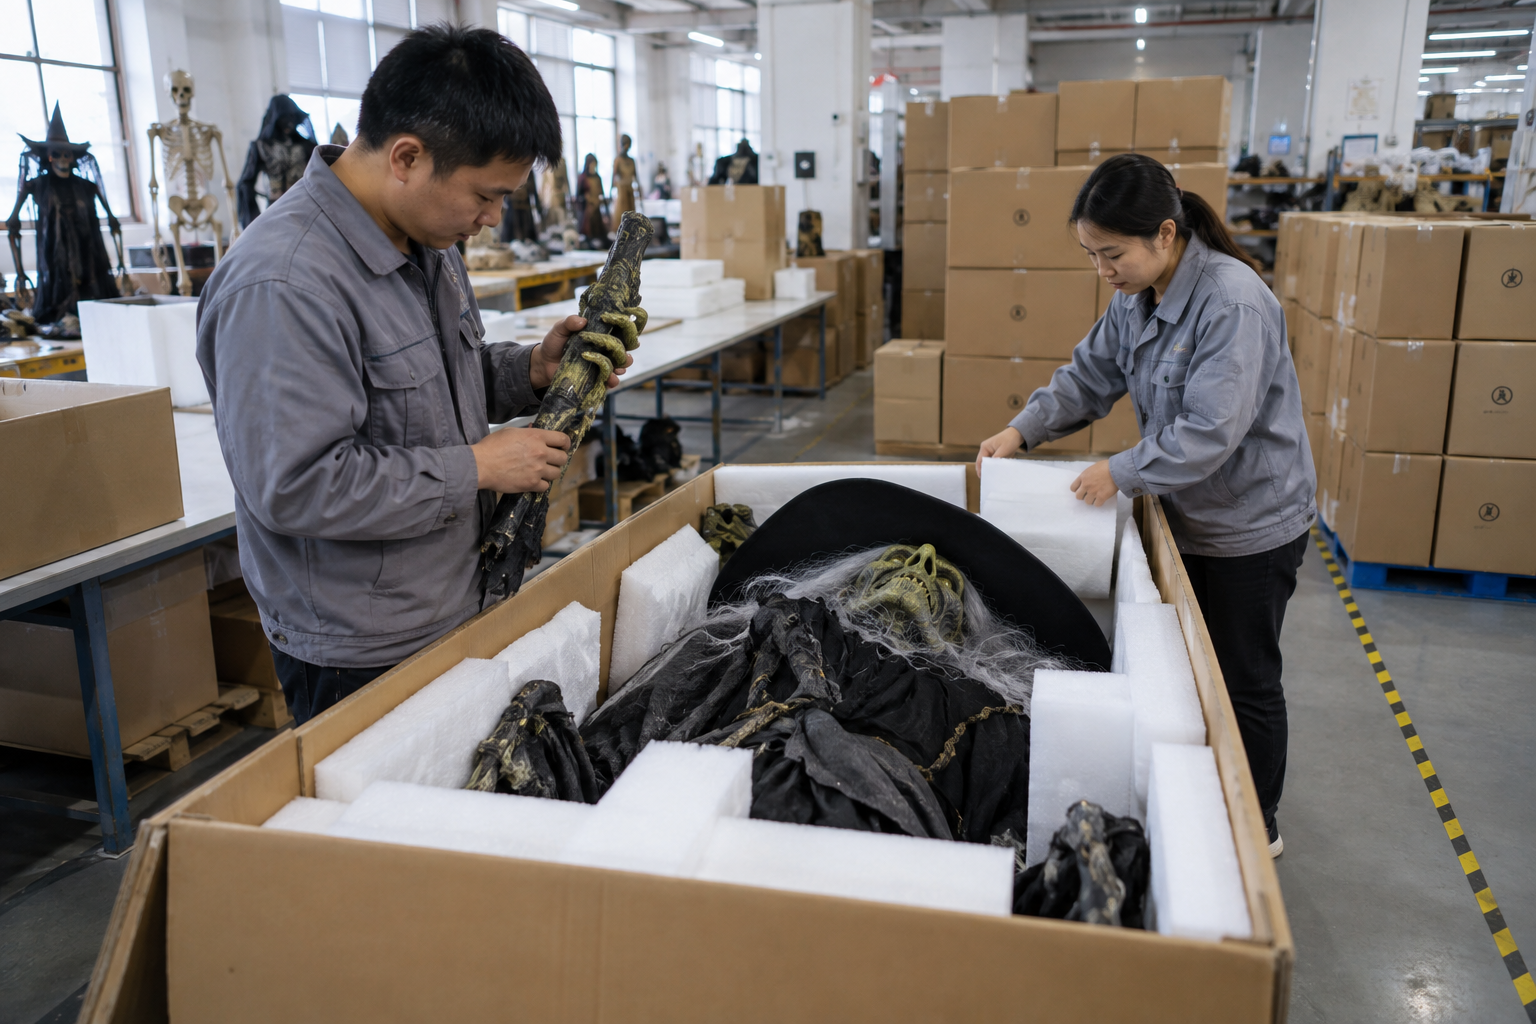
4. Plan arrival and installation before dispatch
Custom projects should include an installation-preparation discussion before packing begins. Confirm the access route, carton opening order, handling needs, power context and site responsibilities. This avoids a visually correct prop arriving with no practical setup sequence.
Shipment inspection can review the approved visible finish, components, accessories and packing grouping. It provides a useful handoff record for the event team but does not replace local installation or safety procedures.
5. Capture reusable project learning
After the event, document what worked in the visitor route, which image angle performed best and how the prop was handled. This feedback can support a later tour, retail adaptation or seasonal refresh.
A well-recorded event prop becomes more than a one-time purchase. It gives the buyer a starting point for future custom scenes with clearer requirements and less rework.
Conclusion
Send your event layout, reference image and opening date for a custom Halloween display review. Clear customer requirements, a documented product direction and a planned inspection sequence give the buying team a stronger basis for the next step.
Frequently asked questions
What should a custom Halloween event brief include?
Include the visitor objective, reference images, layout, dimensions, target market, quantity, opening date and any branding or installation constraints.
Do I need a completed technical drawing?
No. A clear concept and site context can begin the discussion; the supplier can identify the production decisions still needed.
What should be approved before production?
Confirm the product direction, key dimensions, finish, required functions, components, packing direction and applicable branding treatment.
Can custom props be reused?
Yes, if packing, setup notes and component grouping are planned for the intended future use.
Further reading
Use these external resources alongside your local market, venue and professional safety requirements:
READY TO START A PROJECT?