
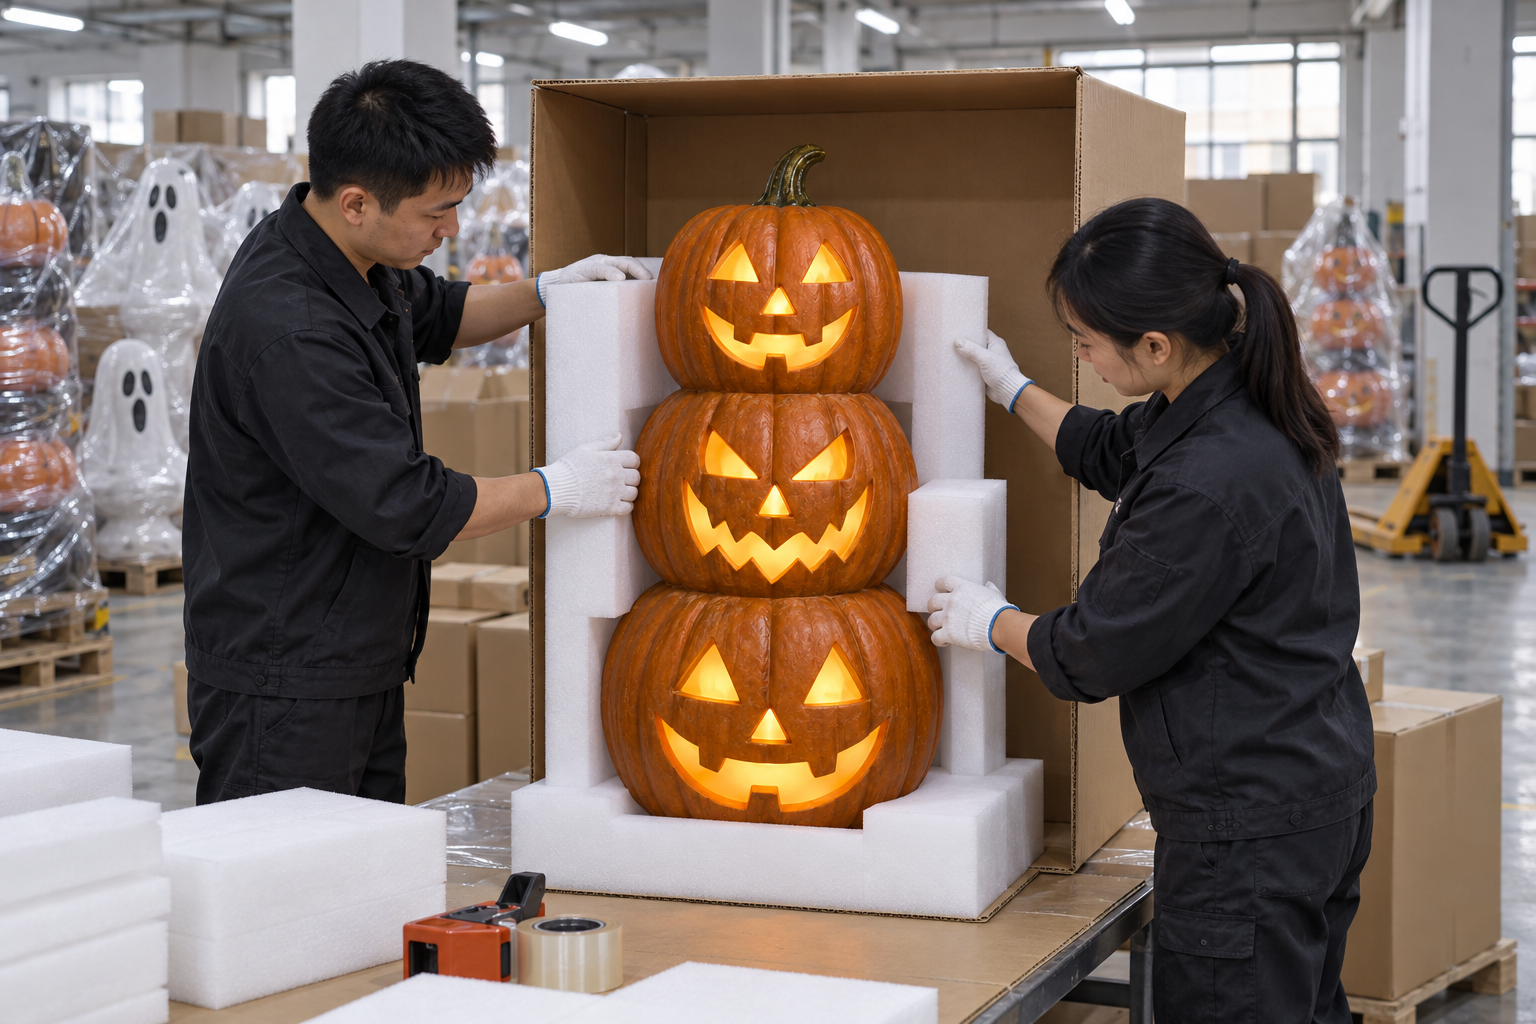
A custom Halloween prop project becomes manageable when the brief is turned into a sequence of decisions. The goal is not to create a perfect specification on day one. It is to define the visitor outcome, approve the product direction and confirm the details that affect factory testing, shipment inspection and installation preparation.
This checklist is designed for attractions, retailers, event operators and procurement teams sourcing commercial display props from an overseas manufacturer. It focuses on the information that makes a project easier to quote, build, inspect and receive without inventing specifications that have not yet been approved.
1. Convert the creative idea into a usable project brief
A mood board or reference image is valuable, but it rarely answers every production question. Start by describing what the visitor should experience: an arrival moment, an intimidating reveal, a family-friendly photo zone or a branded seasonal activation. Then describe where the item will sit and how it will be viewed.
Give the manufacturer an expected quantity, market, delivery date and any non-negotiable constraints. These may include a maximum footprint, a required entrance width, a product function, a venue colour direction or a shipping limitation. Constraints are more useful than broad statements such as ‘make it premium’ because they can be reviewed against a proposed build.
If the project includes several items, identify which piece is the visual hero and which are supporting scene elements. This helps prioritise sampling, detail review and budget allocation.
Project checklist
- Visitor outcome and installation context
- Reference images or sketches
- Target market and delivery date
- Quantity and any repeat-order expectation
- Overall size or site limitation
- Required functions, colour direction or branding
2. Separate the fixed requirements from the open choices
Custom projects move faster when both sides know what is fixed and what remains open. A fixed requirement could be the opening width of a gate, the number of display pieces or a required function. An open choice could be finish direction, costume texture, light colour or the exact arrangement of scene accessories.
This separation reduces confusion during sampling. It also gives the factory a practical way to propose options without changing the core brief. When an option affects materials, movement or packing, record the decision before the next production step.
Do not assume that an image reference is a complete manufacturing drawing. It may show visual tone but not the internal structure, finishing sequence, base treatment or access points. Ask the supplier to identify the missing decisions rather than treating them as hidden assumptions.
For related product directions, explore BooAri's Halloween prop collection, discuss a custom project or review the factory workflow.
3. Use approval milestones that match the project risk
A small static display may need a straightforward visual approval. A large entrance feature or animatronic may need more structured review because scale, function and packing all affect the final result. The approval milestones should reflect that difference.
At the product-direction stage, review the visual reference, key dimensions, core materials and intended function. At the sample or pre-production stage, focus on the details that cannot be changed easily after assembly: silhouette, surface treatment, motion arrangement, lighting position, attachment points and included accessories.
Keep approvals traceable. A dated email summary, marked reference or approved photo set gives both the buyer and supplier a reliable record. It also helps when a project team has multiple stakeholders in design, operations, purchasing and logistics.
4. Define factory testing and shipment inspection before the final week
Factory testing is most useful when it answers the buyer’s agreed questions. For an animatronic, that may include the visible movement cycle, lighting, sound and trigger arrangement. For a display set, it may include item count, surface finish, connections and the fit of modular sections.
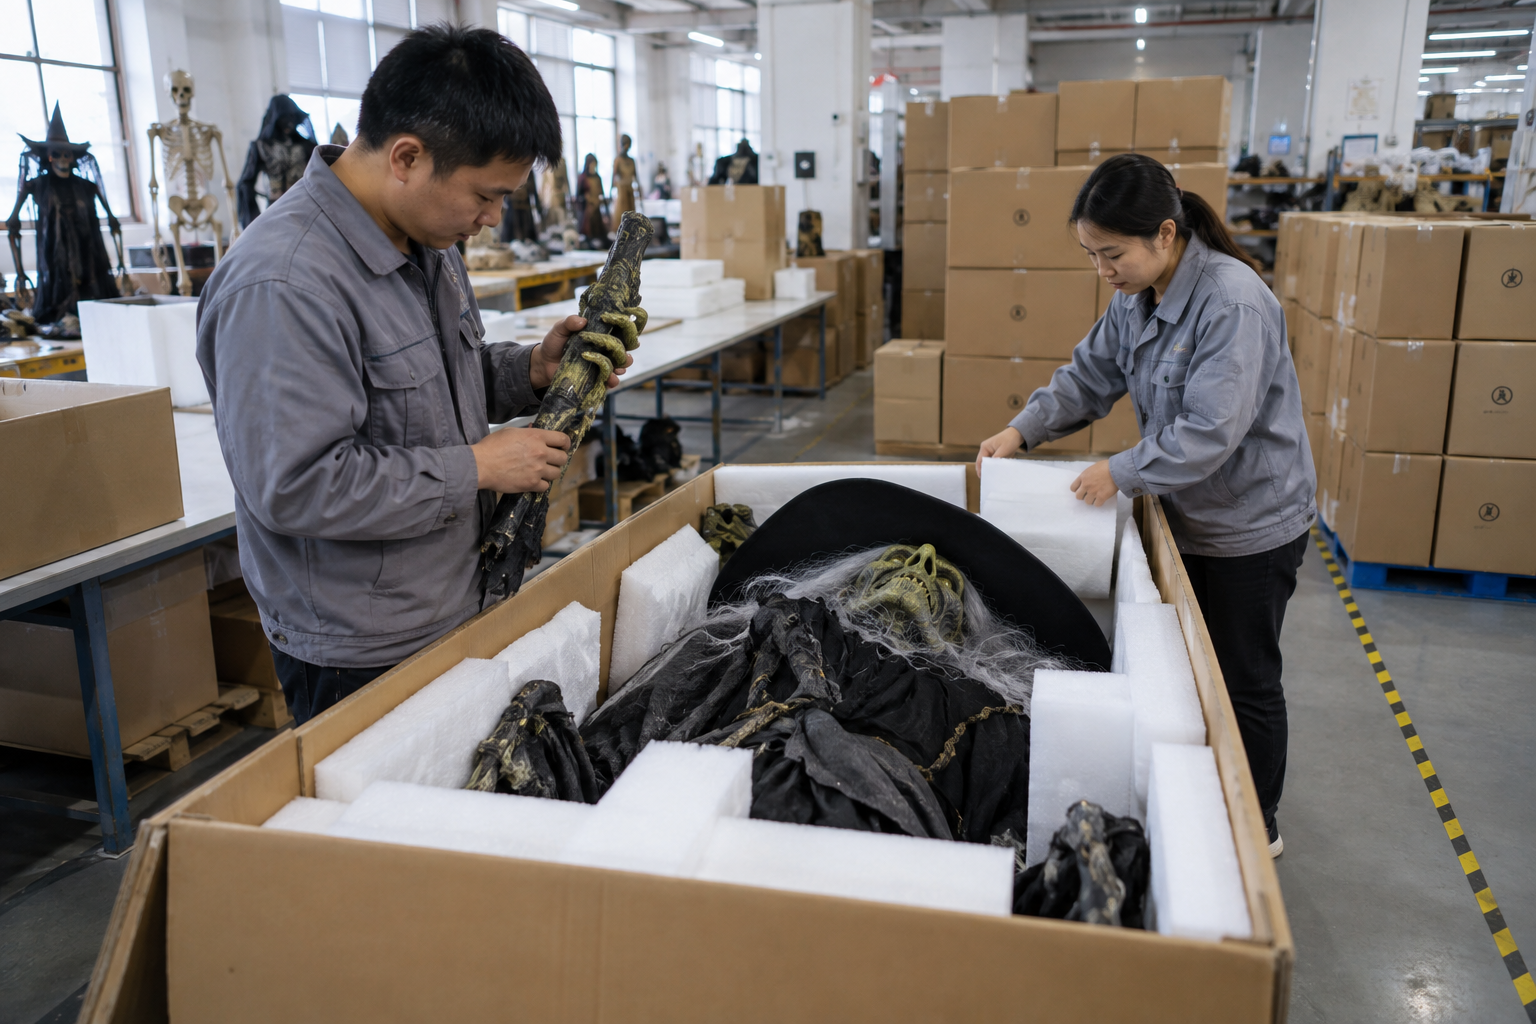
Shipment inspection should then connect the approved product to the dispatch condition. Review the agreed item count, visible condition, included accessories, packing materials and carton identification. Inspection evidence should support the receiving team; it should not be treated as a substitute for a clear purchase specification.
For larger projects, state how any damage, missing parts or questions will be recorded on arrival. A simple receiving checklist helps the venue team compare the shipment to the packing list before installation begins.
5. Prepare installation and next-season use
Installation preparation begins before the goods arrive. Confirm the access route, labour plan, power availability, ground or wall conditions and the order in which cartons should be opened. A large prop can be visually simple but operationally difficult if it arrives at a venue without a clear handling plan.
If the display will be stored and reused, ask for a packing approach that makes the next setup easier. Labelled cartons, component grouping and a basic photo reference can reduce time spent identifying parts after months in storage.
BooAri can review a custom project brief from concept through production and delivery. The final agreement should state the confirmed product scope, while local installation and market-specific requirements remain subject to the venue and buyer’s final review.
Conclusion
Send your reference image, site information, target quantity and delivery date for a custom Halloween prop project review. Clear customer requirements, a documented product direction and a planned inspection sequence give the buying team a stronger basis for the next step.
Frequently asked questions
What is the most important item in a custom prop brief?
The intended product application. Knowing where visitors will see and use the prop helps determine the relevant scale, function, materials, installation assumptions and packing approach.
Do I need a complete technical drawing before contacting a manufacturer?
No. A clear reference and site context are enough to begin. The manufacturer can identify the decisions that still need to be confirmed before production.
What should shipment inspection cover?
It should cover the agreed item count, visible condition, included accessories, required functions where applicable and the final packing direction.
Can custom and existing catalogue products be combined?
Yes. Existing product concepts can be used as visual starting points while project-specific scale, finish, functions or accompanying pieces are developed.
Further reading
Use these external resources alongside your local market, venue and professional safety requirements:
READY TO START A PROJECT?