
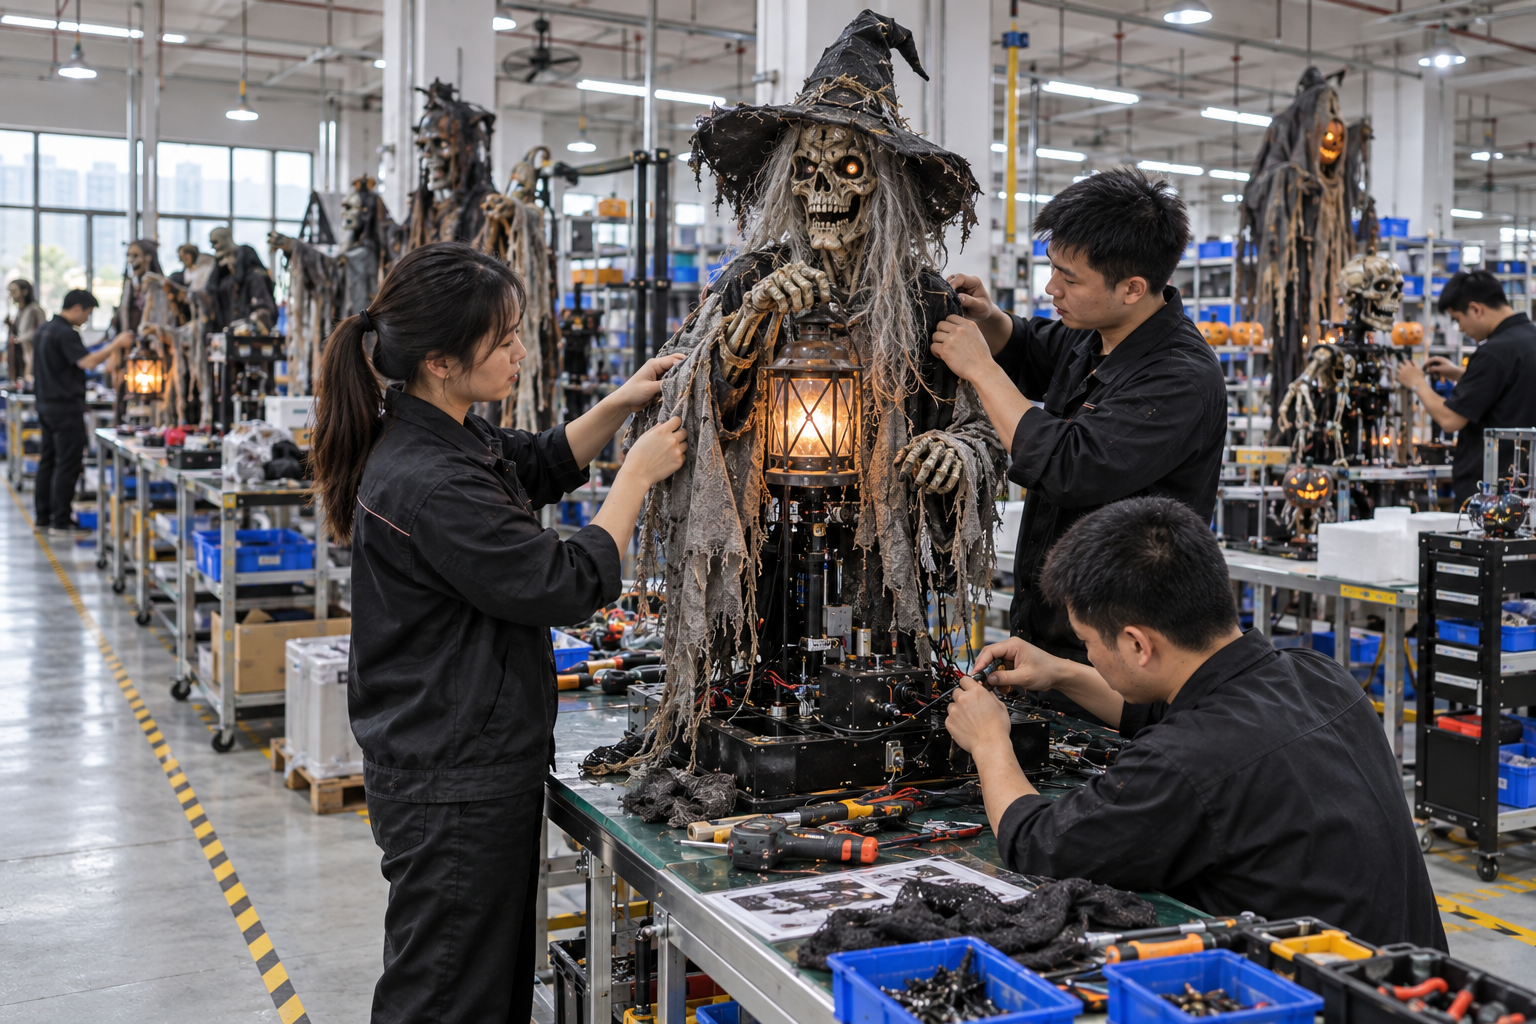
Projection mapping can make a static Halloween face appear to move, but the visual effect depends on the physical surface. A deeply sculpted cheek, glossy paint or late change in mounting angle can make the content misalign even when the video itself is perfect. Buyers should treat the prop as a projection surface with controlled geometry, finish and installation assumptions, not as generic scenery that the media team can correct later.
This guide is for venues sourcing a physical prop to work with a separately designed projection system. It is not a projector specification or promise of a particular brightness. The media integrator must select equipment and commission the effect in the actual site. Epson's projection-tool guide is one manufacturer reference illustrating how screen shape, alignment and calibration form part of a projection workflow; the selected equipment's own instructions govern its use.
Define the projected area before sculpting
Ask the creative team which parts of the prop receive moving imagery. A flat tombstone inscription, a creature's face and a curved pumpkin shell pose different mapping challenges. Mark the intended projection zone on a drawing and note whether it is fixed or may shift with assembly. A surface that appears minor in a conventional sculpture can become the most important part when it carries animation.
Decide whether the content is designed around the prop or the prop is built around existing content. If the media artwork already exists, obtain its reference geometry and camera or projector assumptions before fabrication. If the prop is first, provide the media team with a measured model, photographs and a stable sample. Avoid a circular process in which both teams keep changing their work independently.
Consider normal viewing positions. A projection that aligns from the technician's desk may distort for visitors approaching from the side. The media team owns image alignment and site sightlines, while the prop supplier can help by providing accurate geometry and a repeatable mounting orientation. Record the intended scene hierarchy: is the projected face the focal point, or only an atmospheric layer on a larger static display?
Keep the physical pose repeatable
If a prop arrives in modules, its assembled position must be stable enough for the projection to align each time. Label joints and supports, document reference points and provide an installed pose photograph. A flexible costume layer should not be the only registration surface for precise mapped content. If the prop will move during operation, the integration becomes a different technical project; identify that before ordering.
Review colour, gloss and texture with the media team
Surface colour affects projected appearance. A very dark finish may absorb much of the visible image; a glossy finish can create distracting highlights; deep texture can break a fine facial line. That does not mean every projection prop must be featureless white. It means the finish must be approved using the actual content and intended light. A sculpted neutral surface can preserve character when the projector is off while giving the media team a workable target.
Ask for sample panels with the proposed coating and texture. The media integrator can project test patterns and representative content onto them in a controlled trial. Record projector model, distance, ambient light and viewing position so the result can be interpreted. Do not claim a factory panel test guarantees the same output in a brighter venue or from a different throw angle.
Finish durability matters because recalibration after every touch-up is costly. A repaired patch can alter reflectance and make a seam visible in projected content. Define how the venue will clean the surface and which repair method preserves the approved finish. Keep a small approved finish reference for future maintenance where practical.
Fix the mechanical and optical interface early
The prop needs a known position relative to the projector. Provide dimensions, installation points, base footprint and any adjustment range. The venue's qualified team determines how the prop and projector are mounted at the site. Avoid a design that relies on temporary wedges or unrecorded adjustments at every opening. If the attraction tours, consider repeatable datum points and a setup record for each venue.
Identify obstructions: projecting limbs, hanging fabric, visitor shadows and staff routes can interrupt the light path. A prop may look good from the audience side while its own ear or hat casts a shadow across the mapped face. The media team should review the geometry before the sculpt is frozen. A simple full-size mockup can expose this sooner than a polished sample.
Plan access to the projector and prop. Technicians need to calibrate, clean and troubleshoot without dismantling the scene. A service hatch added after approval may create an unexpected projection seam. Conversely, hiding all access behind a sculpted wall can make routine adjustment impractical. Product and site design should be coordinated.
Make sample approval a joint exercise
Ask the supplier to provide a dimensionally accurate prototype or scan at a stage when changes are still possible. The media integrator tests registration using sample content and reports where shape or finish needs adjustment. The buyer then decides which party will change its work. A written issue log avoids two vendors each assuming the other will compensate.
At factory testing, the supplier can verify the prop's geometry, finish, assembly and any product-side lighting. If the actual projection system is present, demonstrate it under stated conditions and record them. If it is not, do not describe a static inspection as a successful mapping test. The site's final commissioning remains necessary.
At shipment inspection, check product dimensions, reference marks, finish, module labels and protective packing against the approved sample. A bent panel or changed joint angle can create media alignment work even if the prop has no visible crack. Shipment protection therefore supports the digital effect as well as the physical product.
The custom prop project page can start this coordination. Share the media team's contact and technical assumptions early. An image of a glowing Halloween face is a creative goal, not an orderable specification for the prop alone.
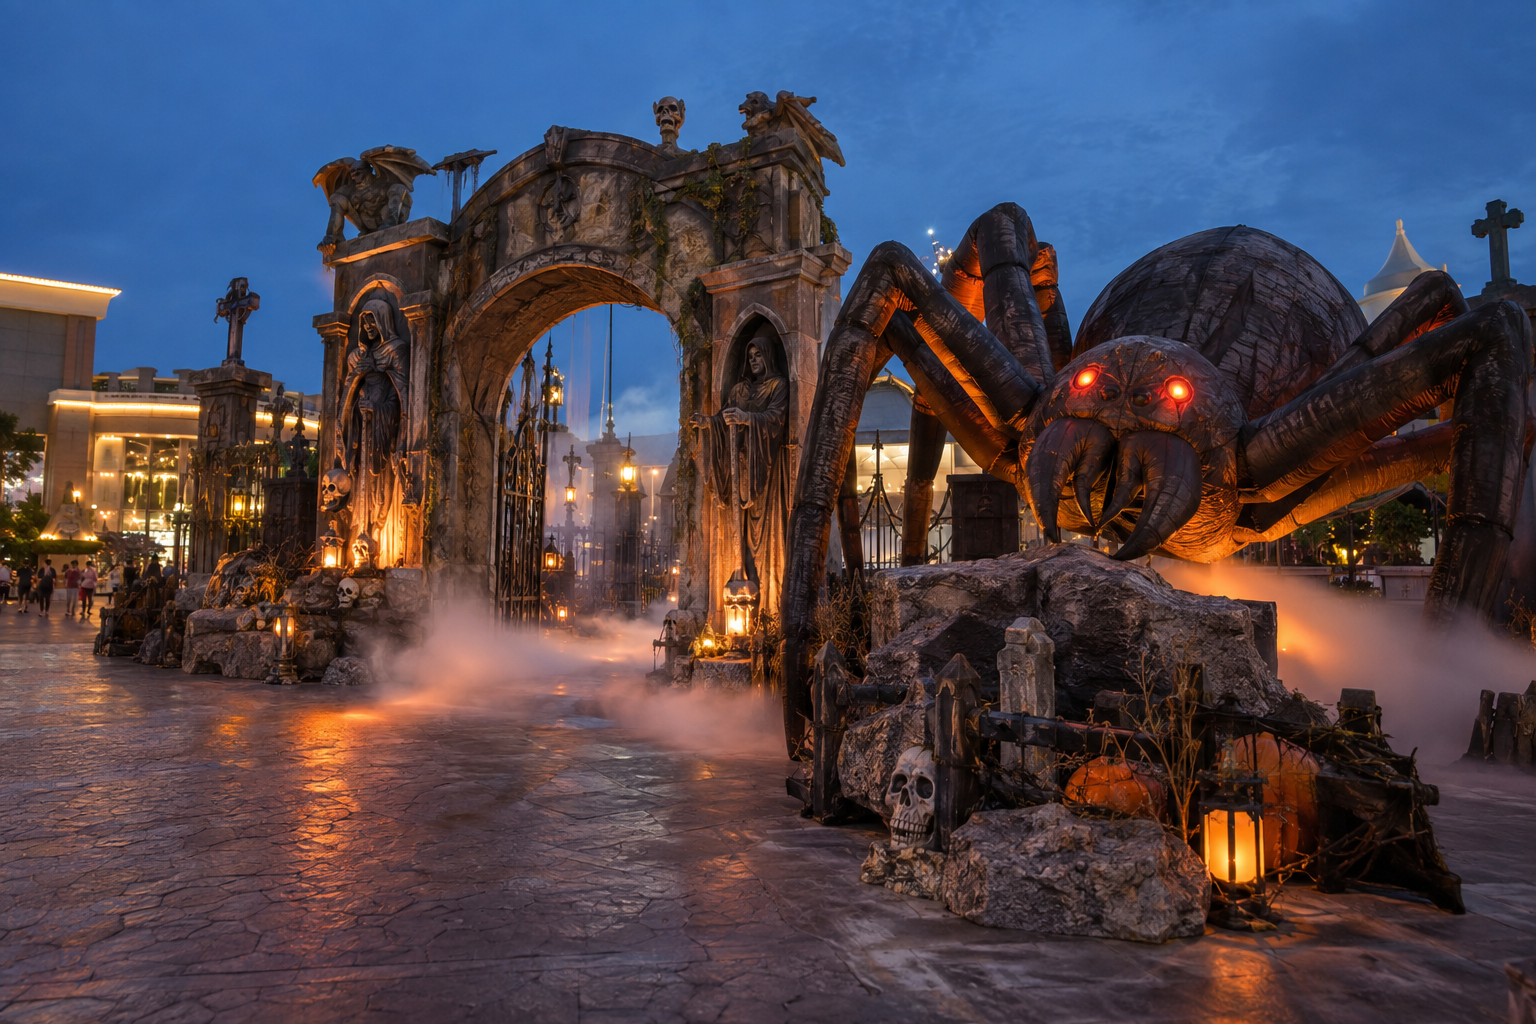
Decision example: a pumpkin face that no longer aligns
Imagine a fictional venue approving a sculpted pumpkin face after a projection test. During production, the supplier deepens the eye sockets for a stronger daylight appearance. The revised shape looks better as a static product but causes the projected pupils to distort. This is a hypothetical design conflict, not a BooAri project record.
The buyer compares the changed sculpt with the approved geometry. The media team tests whether content can be remapped without sacrificing appearance or making each unit unique. If not, the supplier restores the approved depth or the buyer signs off a new joint design and media package. The essential control is that neither vendor silently changes a shared interface.
Suppose the same display will tour three venues. The team records projector positions, prop orientation, ambient light differences and local calibration files for each site. The prop supplier provides consistent geometry, but each venue still needs commissioning. A single beautiful demo cannot guarantee three identical environments.
Buyer worksheet: surface and installation brief
List the prop's projection zone, approved geometry, finish sample, off-state appearance, module joints, reference points and packed protection. Attach the media integrator's projector and content assumptions without making the prop supplier responsible for selecting equipment. Identify who owns mapping, calibration and maintenance at the site.
Approve three views: physical prop with projector off, test pattern on the sample surface, and representative content at the intended visitor position. Record ambient light and setup. If the site changes position or equipment, flag a new integration review. An approval made for one geometry is not automatically transferable to another.
Before shipment, verify that production units maintain the agreed shape and finish. If the order includes several nominally identical props, decide whether the media team can use one calibration file or needs individual adjustment. Do not imply interchangeability without a trial. Budget the commissioning work honestly.
Freeze the interface at a meaningful milestone
Projection teams often refine content late, while physical props need production and transport time. Agree a geometry-freeze date: after that point, changes to the face, panel angle, joint or mounting position trigger a joint review. The media team can continue colour and animation work within the agreed surface, but it should not discover a deeper sculpt after final mapping. If the buyer requests a physical change, record the cost and re-calibration work openly.
Keep a neutral reference image and measurable datum points. When a venue asks why the mapped face appears shifted, the team can compare the installed prop with its approved pose. Is the base rotated? Is a module reversed? Has a projector moved? Did the media file change? This diagnostic order is faster than random adjustments. A simple photograph of the correct setup with marked reference points can be more useful than an elaborate render without dimensions.
Ask how the effect behaves during interruptions. If the projector fails, should the prop still read as a recognizable Halloween object? If house lights come on, does the surface look unfinished? If guests stand between projector and prop, are shadows merely part of the scene or do they obscure essential navigation? The venue owns the operating response, but the product's off-state design should be deliberate. This is especially important for retail or public installations that are visible outside show hours.
For touring, document site calibration separately from product approval. The prop may be dimensionally stable while projector position, ambient light and audience angle change. A new venue is not a failure of the supplier's physical sample; it is a new commissioning environment. Label each calibration file by site and date and keep it with the asset manifest. If the prop is repaired or repainted, alert the media integrator before reusing the old file.
Close with a joint acceptance record. The supplier confirms the shipped surface and modules match the approved geometry; the media integrator confirms projection under the actual equipment; the venue confirms the visitor experience and safe operation. These statements are related but not interchangeable. A technically accurate prop and a technically functioning projector can still create a weak scene unless their interface is tested together.
Questions for the mapping rehearsal
Is the prop at its approved pose and position? Are the projected areas still the same geometry and finish? Has the media team tested from the actual visitor view, not only the technician's position? What happens with the projector off? These questions should be answered with the physical sample and selected equipment before bulk approval.
If a production change is proposed, show it to the media integrator while it can still be reversed. A deeper eye socket or more reflective paint may look better as a standalone sculpture while increasing calibration work. Record whether the supplier changes the prop, the integrator changes content, or the buyer accepts a trade-off.
Keep calibration data with the physical asset
If a projection prop is stored between seasons or moves to another venue, its media files should not live only on one technician's laptop. Link the approved physical revision to the content version, projector setup, alignment reference and site-specific calibration file. Photograph the installed pose with visible datum points. When a component is repaired or repainted, tell the media owner before loading the old show file.
Ask the supplier how consistently the physical surface can be reproduced across units. Hand-sculpted detail may vary enough that each copy needs separate mapping. If the buyer expects one content file to work across ten props, validate that expectation on several production units before ordering volume. The answer may affect tooling, finish tolerance and commissioning budget.
Frequently asked questions
Can any Halloween prop be projection-mapped?
Many surfaces can receive projected imagery, but useful results depend on geometry, finish, projector position, ambient light and content. Have a media integrator test the actual concept before treating it as a production promise.
Should the prop be white?
Not necessarily. The best off-state appearance and mapped image may require a specific finish. Test physical panels and representative content with the chosen equipment rather than applying a universal colour rule.
Can a factory test guarantee the venue result?
Only for the factory conditions recorded. The actual site may have different light, throw distance, obstructions and viewing angles. Venue commissioning is a separate requirement.
What changes require remapping?
Changes in prop geometry, pose, mounting position, finish or projector location can affect alignment. Document revisions and ask the media team to assess them before production or installation.
How should modular props be labelled?
Use clear part identifiers, assembly references and repeatable datum points where needed. The goal is to return the projection surface to the approved pose, not merely assemble a visually similar shell.
Conclusion
A projection-mapped Halloween prop is a shared physical and digital interface. Define the projected area, approve surface and geometry with the media integrator, preserve the pose through packing and assembly, and commission the effect on site. The strongest result comes from controlled collaboration, not from asking the projector to fix an undocumented sculpture change.
Send BooAri the creative scene, target dimensions and media integrator's requirements through the custom project form. Ask for a sample and revision plan that protects the projection surface you intend to use.
Further reading
Use these external resources alongside your local market, venue and professional safety requirements:
READY TO START A PROJECT?