
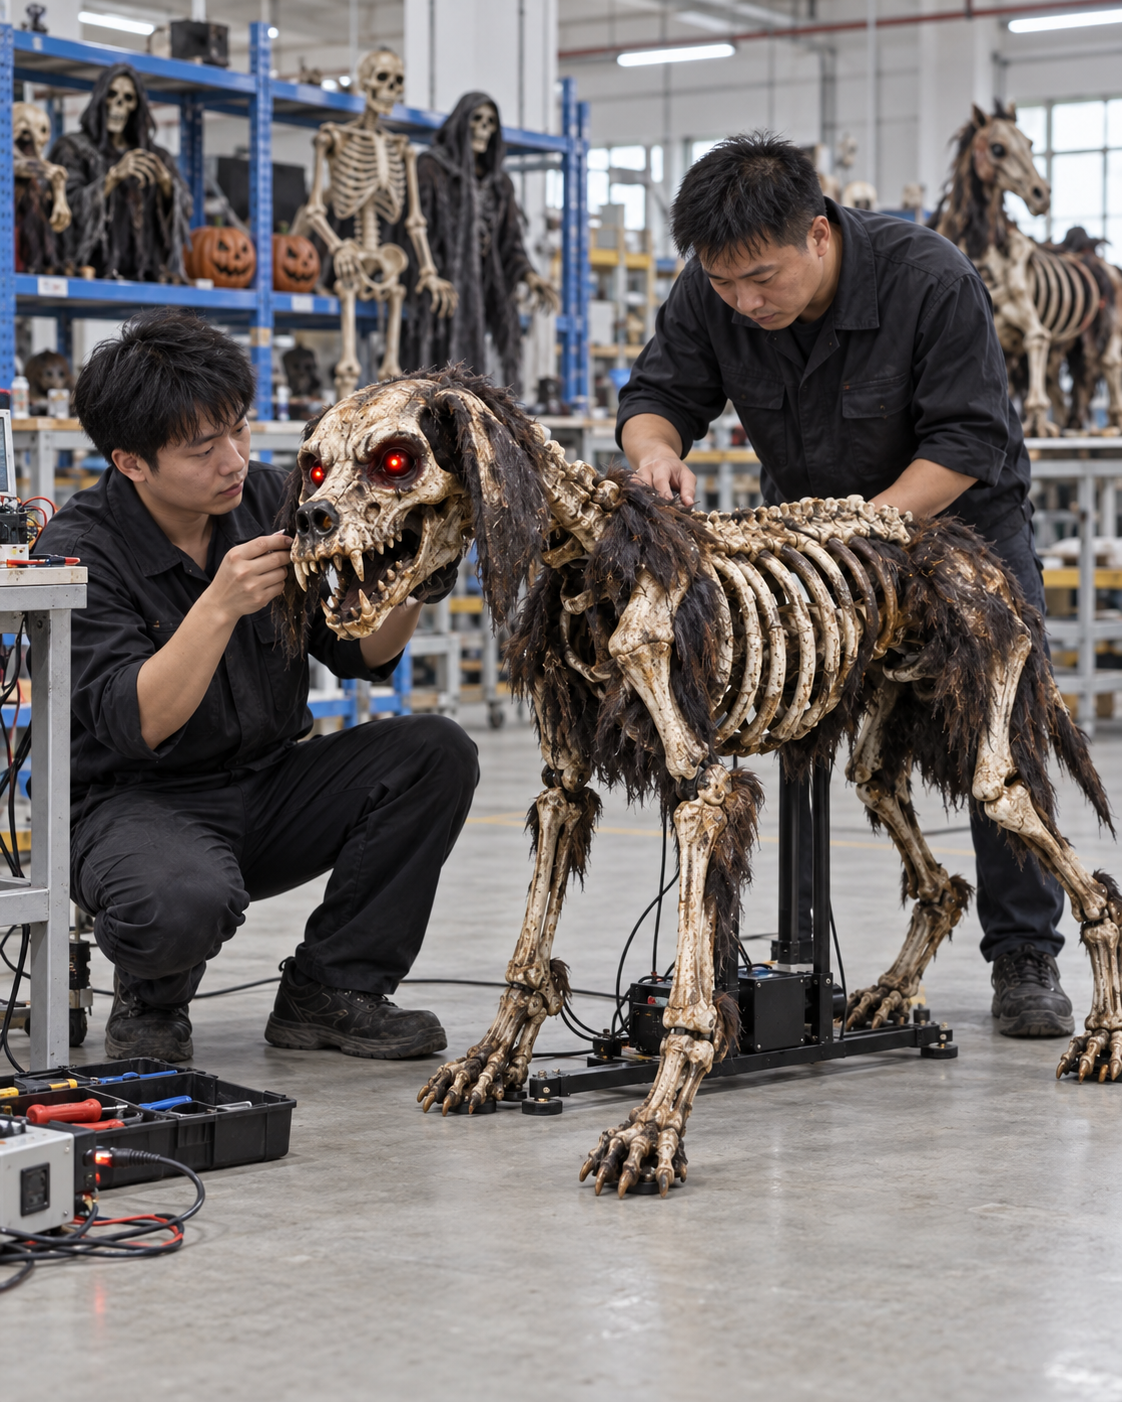
Choose a Halloween prop trigger by the visitor position you need to detect, the surrounding environment and the controller's accepted input. PIR sensors, beam sensors and pressure mats can all initiate an effect, but their detection zones and failure patterns differ. The best choice is the one that activates at the intended moment without confusing nearby movement with a new visitor.
For a haunted attraction, a sensor is part of the scene choreography. A character that moves before the visitor sees it can lose the intended reveal. An effect that repeatedly starts while guests wait nearby can create noise and unnecessary operating cycles. Product selection should therefore connect the trigger, controller behaviour and visitor route.
This guide compares detection approaches for procurement. It does not supply wiring instructions or claim that a particular BooAri model accepts every sensor. Obtain the actual controller documentation and confirm compatibility before purchase. Test the selected combination in a representative approach sequence.
Define the activation point on the visitor route
Mark where visitors first enter the scene, where they can see the prop and where the effect should begin. Include waiting positions, actor routes and staff access. The desired trigger zone may be a small threshold rather than the entire visible area. A floor plan makes this requirement clearer than simply requesting motion activation.
Decide whether the effect should respond to every person, the first person in a group or an operator cue. A group can enter a zone over several seconds. If the controller restarts continuously, later visitors may interrupt the effect for earlier ones. Detection and retrigger behaviour need to be specified together.
Provide the supplier with a short intended sequence: visitors approach, one trigger is accepted, the effect runs, the prop returns and the controller becomes ready. Identify where a delayed or missed activation would matter. This helps the technical team recommend a suitable input arrangement without guessing the creative objective.
Distinguish detection from the effect's response
A sensor produces information; the controller decides what to do with it. A repeated signal might restart, queue, extend or be ignored during a cycle. Two props using the same sensor can behave differently. Ask about the complete system rather than judging the sensor in isolation.
Understand the practical role of PIR
PIR detection can be useful when the buyer wants a hidden sensor watching an approach area. Its practical coverage depends on the device, placement and surroundings. Confirm the manufacturer's field and operating conditions, then verify the intended zone with a walkthrough instead of assuming a generic detection distance.
The FrightProps trigger comparison describes a trade-off between a PIR's broad coverage and precise activation. Its product-specific guidance also highlights environmental limitations. Use the manufacturer's documentation for the selected sensor rather than extending one supplier's description to every PIR device.
During planning, consider movement outside the scene. Staff passing behind a gap or guests waiting beside the prop can be detected if the field extends beyond the intended route. Positioning or a manufacturer-approved adjustment may help, but it should be assessed with the actual device. Avoid informal modifications that conflict with the instructions.
Understand the practical role of beam detection
A beam arrangement can define a crossing point more precisely than a broad watched area. The actual design may involve separate emitter and receiver parts or a reflective arrangement. Ask which configuration is proposed, how alignment is maintained and what surfaces or obstructions affect it.
A single crossing point does not automatically identify a whole visitor group. Bags, costume pieces, props carried by actors or repeated crossings may produce signals. Decide how the controller handles these events. If the desired reveal is at a doorway, test the real approach rather than a person walking slowly through a clean workshop demonstration.
Think about adjustment access. If a sensor must be aligned near scenery, staff should be able to inspect it without disturbing the complete set. Mark the accepted location and include it in installation information. A small change in scene placement can change the detection point even when the sensor itself is unchanged.
Understand the practical role of a pressure mat
A pressure mat can define a physical activation area on the floor. It may be useful when visitors follow a predictable route, but it also becomes a handling and placement item. Ask the supplier about permitted surfaces, environmental limits and product care for the actual mat.
Guests can avoid, cross differently or stand on a mat for a prolonged period. The controller needs an agreed response to a held signal. A mat should not be assumed to provide one clean pulse simply because it looks like a button in a schematic. Test both stepping on and remaining on the activation area.
Review placement with the venue team so the mat and its connection do not create an unsuitable route condition. The manufacturer's product instructions and local access plan determine installation details. This article does not recommend concealing a mat in a way that compromises its intended use.
Include maintenance in the comparison
A floor-mounted item encounters a different environment from a protected wall sensor. Dirt, wear and cleaning procedures should be discussed before approval. The expected check routine matters as much as the first successful trigger. Agree how staff recognize a faulty input and who can replace the component.
Confirm controller input compatibility
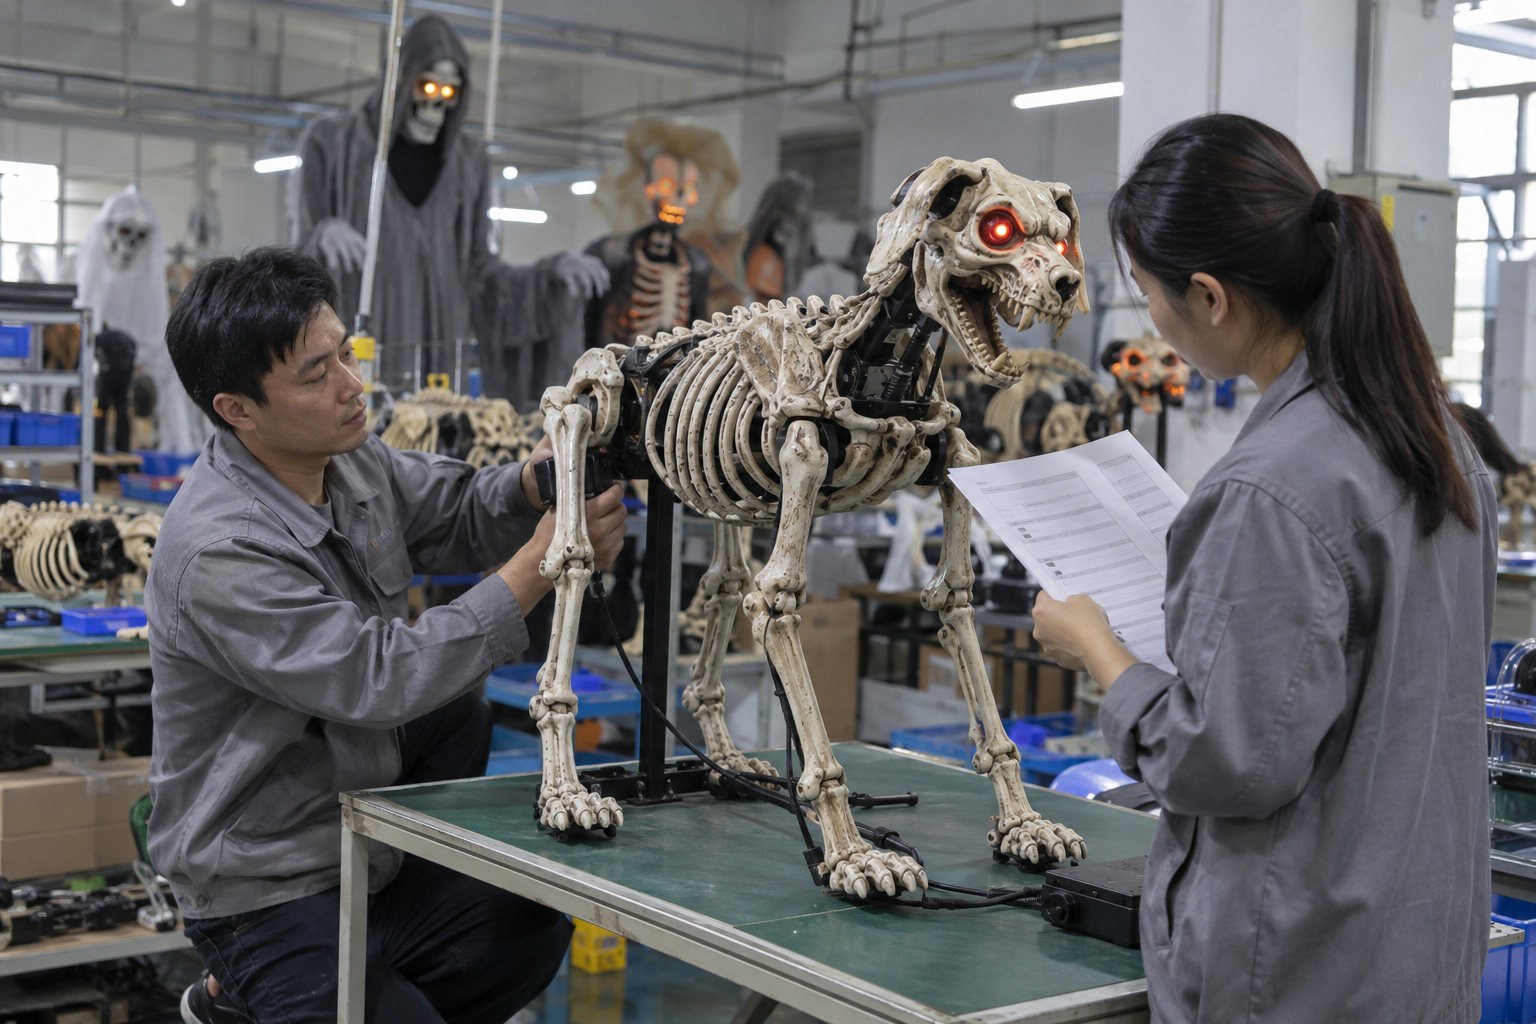
Ask for the accepted input type, connector identification and documentation for the proposed controller. A sensor marketed for haunted props is not automatically compatible with another manufacturer's input. Power requirements and signal characteristics need actual confirmation by the technical team.
Use a compatibility record that names the sensor, controller and relevant revisions. Include the settings used in the accepted demonstration. If the buyer later substitutes a sensor, review the input relationship rather than connecting it solely because the plug appears to fit.
For integration work, ask qualified personnel to handle the actual connections according to documentation. Buyers can specify the desired behaviour and require evidence; they do not need to improvise wiring from a purchasing article. Keep interface confirmation within the supplier and installer scope.
Ask BooAri about an animatronic direction with a drawing of the activation zone. Use the custom-project form to describe the desired visitor sequence and ask which trigger arrangement the proposed model supports.
Test false activation and missed activation separately
A useful walkthrough includes more than one straight approach. Test the intended visitor route, staff movement, a pause near the sensor and a group crossing. Record whether the effect starts when wanted, starts early or does not start. Each outcome points to a different question about placement or settings.
If the effect starts early, check the actual detection area and the controller's readiness. If it misses a person, review the route and device conditions. If it repeats while people remain nearby, review held-input and retrigger handling. Do not change several settings at once, because the cause of an improvement becomes unclear.
Perform the trial with representative scenery and lighting where practicable. A sensor tested on an empty bench may not behave the same when its line or field is partly obscured by fabric and decorations. The aim is to approve the installation arrangement, not merely establish that the sensor functions in isolation.
Specify timing and group behaviour
Record the start delay, effect duration, return time and readiness interval if the controller provides those settings. Confirm which values are adjustable and which depend on the product. The activation event should be tied to the intended scene moment without preventing the next group from receiving a complete effect.
When a group occupies the trigger zone longer than the scene, decide whether another cycle should be allowed. Retail displays may tolerate repeated interaction; a timed haunted route may need a controlled interval. These are operating decisions that belong in the brief rather than hidden defaults discovered after delivery.
The cycle and reset guide explains how to compare these timings with visitor arrivals. A trigger that detects correctly can still be unsuitable if the effect cannot recover before the next required activation.
Prepare installation and opening checks
Provide a placement reference, device labels and the accepted settings. The local team should know which parts can be repositioned and what information must be checked after a change. Preserve controller documentation with the scene records so staff can distinguish sensor issues from an interrupted effect.
Create a short daily opening observation: confirm the zone is unobstructed, perform an intended approach and verify the agreed response. Include a staff-route check if that was a known false-trigger risk. The checks should follow product instructions and the venue's procedure, not an invented universal interval.
Agree the fallback if activation fails. An operator cue, static presentation or temporary removal from operation may be appropriate depending on the system and venue. The supplier should confirm what the product supports; the venue decides the operating response. A fallback plan reduces uncertainty during a busy period.
Record acceptance evidence and revisions
The factory demonstration should identify the actual sensor and controller, show the accepted effect sequence and state any settings relevant to the result. Site commissioning then confirms the placement under venue conditions. Neither demonstration alone covers the other environment completely.
If a sensor model, scene geometry or controller setting changes, update the record and repeat the relevant trial. Keep a simple revision list instead of relying on an installation photograph taken before the final changes. This makes the accepted behaviour easier to reproduce next season.
Buying decisions become clearer when detection, timing and service access are reviewed together. A sensor option can be inexpensive yet create extra commissioning work. Another can be practical when the venue has predictable traffic and staff can inspect its location. Compare the complete scene rather than a feature list.
Buyer worksheet: draw the actual detection zone
On the venue plan, mark the first point where a visitor should activate the effect and the nearest positions where activation would be unwanted. Include queues, staff routes, adjacent scenes and likely pauses. A PIR sensor, beam and pressure mat each detects a different event; the choice only makes sense in relation to this map. Ask the supplier to identify its proposed mounting position, wiring and supported adjustment range. Do not infer a guaranteed range from a catalogue headline in a reflective or crowded scene.
Write three representative visitor walks for the acceptance trial. One group approaches normally, another hesitates at the edge of the zone, and a staff member passes on the service route. State the desired output for each. Repeat with visitors close together to discover whether the prop ignores, queues or restarts an activation while its previous cycle is incomplete. Record these behaviours against the controller configuration. A single edited activation clip cannot establish performance under these conditions.
For a pressure mat, review its placement in the finished floor arrangement and the manufacturer's installation limits. The mat must not be treated as a universal answer simply because it creates a clear contact point. A beam may offer a defined crossing plane but can be obstructed or triggered by an unintended route. PIR can cover an approach area without floor hardware yet may require careful placement. The FrightProps trigger comparison gives product-specific examples; confirm compatibility with the actual prop controller.
Close the worksheet by assigning site tuning and final approval. Factory testing can demonstrate the supplied sensor and controller together in a controlled setup. Installation preparation must verify the real geometry and operating conditions. The buyer should retain a diagram of the final position, the supported settings and a short operator description of normal behaviour so later staff do not move a sensor without understanding its effect.
Questions to close during trigger commissioning
Ask the supplier to document the exact sensor, controller and operating settings demonstrated with the sample. A replacement sensor with a similar name may behave differently. Photograph its proposed position and mark the intended detection zone on the site plan, including nearby staff routes and neighbouring visitors.
Test missed and unwanted activations with actual approach patterns. A person lingering near a pressure mat or moving through the edge of a PIR field can reveal a different issue from a single brisk walk. Observe the full prop cycle and reset at the same time. Changing only sensitivity may not fix a timing conflict.
Assign an authorized person to tune the installed system and record the final settings. The factory demonstration supports product selection; the venue trial confirms the real geometry. Operators should know what a normal ignored trigger looks like and how to report a sensor that has moved or become obstructed.
Frequently asked questions
Which trigger gives the most precise activation point?
A beam or mat can define a relatively specific crossing or contact area, but suitability depends on the device and visitor route. A broad PIR field may be useful for a hidden approach zone. Test the proposed sensor and controller together, including group movement and pauses, before choosing by precision alone.
Can a trigger be changed after the prop is delivered?
Only after confirming controller compatibility, power and signal requirements with the technical documentation. Similar plugs or haunted-prop marketing do not prove interchangeability. Record the replacement device and settings, then repeat the approach and reset trial relevant to the scene.
Why does the prop keep triggering while visitors wait?
The detection area may include the waiting position, or the controller may accept repeated or held signals. Review both placement and retrigger behaviour. Observe the actual sequence before changing settings. The manufacturer should explain which response modes the selected controller supports.
What evidence should a buyer request before shipment?
Request an identified demonstration of the sensor, controller and agreed visible effect, with relevant settings recorded. Factory evidence supports product approval; installation at the venue still needs a route trial. Supply the floor plan and visitor sequence so the supplier can understand the intended activation point.
Conclusion
PIR, beam and pressure-mat selection is a scene decision. Define the detection zone, confirm the controller interface and test complete visitor approaches, including pauses and groups. A clear acceptance record makes it easier to commission the prop and diagnose changes after delivery.
Send BooAri the character direction, approach layout, activation point and operating schedule. Ask for supported trigger options and a representative factory demonstration through the enquiry form. Include your preferred site-commissioning responsibilities so the proposal covers the complete handoff.
Further reading
Use these external resources alongside your local market, venue and professional safety requirements:
READY TO START A PROJECT?