
Accessible Halloween display planning begins before props are ordered. Routes, viewing positions, sound and interaction need to be considered as part of the venue brief. A product described as compact or family-friendly does not by itself establish that the installed experience is accessible.
For commercial buyers, the useful role of an inclusive Halloween prop brief is to document needs, ask suppliers for relevant information and assign review responsibilities. It helps avoid purchasing a scene that later requires substantial changes to fit the venue's audience and operation.
This is a procurement-planning guide, not a compliance certification or substitute for professional access advice. Applicable requirements depend on the country, venue and installation. Consult qualified personnel and involve disabled visitors or appropriate user representatives where practical rather than relying on assumptions about their needs.
Assign access responsibilities early
Identify who owns route design, visitor information, scene operation and the technical installation. A prop manufacturer can provide dimensions and product characteristics, but the venue needs to assess the complete experience. Put those responsibilities in the project schedule.
For a US project, ADA.gov's 2010 design standards are an official reference for applicable built-environment requirements. Other jurisdictions use their own frameworks. Do not borrow one dimensional rule without understanding its scope or treating it as a complete event-access review.
Keep an issues register with decisions and unresolved questions. Examples might concern a viewing position, a temporary route or the availability of a quiet session. Assign an owner and review milestone to each item instead of leaving access as an unspecified final check.
Include supplier information deadlines. Route designers may need the movement envelope and service-access area before finishing the layout. Late product data can undermine otherwise thoughtful planning. Request the relevant information with the quotation rather than after dispatch.
Map the visitor journey, not just the scene
Halloween access route scene design should consider arrival, approach, viewing, interaction and departure. A visitor may reach the venue but still encounter an avoidable obstacle at the final photo position or enquiry point. Review the journey as a connected sequence.
Show the proposed scenery and its operating state on the plan. Include relevant moving parts, bases, cables, service areas and temporary furnishings. The venue's qualified team should determine how these interact with routes and clearances.
Ask how access will be maintained during installation, servicing and dismantling. ADA.gov's museum-access guidance addresses maintaining accessible routes around exhibits. It is a useful planning reference, not evidence that a particular Halloween installation meets all applicable obligations.
Avoid assuming that a temporary display falls outside access responsibilities. Ask the venue's advisers to determine the applicable requirements. The buyer's brief should provide enough product and layout information for an informed review.
Review more than one viewing position
A Halloween wheelchair viewing position should be part of the scene review where relevant, but it should not become the only access question. Visitors differ in height, mobility, vision, hearing and how they prefer to experience an event.
Check whether the main feature is visible from the intended positions without forcing visitors into a separate, inferior experience. A low sign, a raised scenic base or another visitor group can obscure a detail. Mockups can reveal this before production is frozen.
For a photo area, consider both the visitor and photographer positions. Review ordinary phone framing and the backdrop around seated participants. The family photo-zone guide explains how framing and scene hierarchy influence product selection.
Record what the trial actually represents. One participant's successful use is valuable feedback but does not prove universal accessibility. Combine user input with qualified venue review and preserve unresolved issues honestly.
Describe sensory effects explicitly
Halloween sensory friendly display planning requires clear information about sound, light and movement. Avoid vague labels such as mild or suitable for everyone. Describe whether effects are continuous, triggered, sudden, adjustable or optional.
Ask the supplier which supported settings and operating modes exist. A static or quiet mode may be useful, but confirm what functions remain and whether changing the mode affects the intended product operation. Do not disable components through unsupported modifications.
Consider how visitors learn what to expect before entering the scene. Plain-language information can describe effects and available alternatives. The venue should determine appropriate warnings and communication formats with its advisers and audience representatives.
Technical claims about flashing, sound exposure or health suitability require appropriate evidence and qualified assessment. This article does not provide a supposedly safe universal setting. Procurement can request controllability and data without pretending to establish medical suitability.
Plan quiet sessions as an operating configuration
A Halloween quiet session prop plan should identify the actual settings, schedule and staff procedure. Quiet should mean a defined experience, not an informal promise that someone will turn a knob if a visitor complains.
List which soundtracks, lighting effects and movements change. Confirm the manufacturer's supported controls and the venue's configuration method. Record who is authorized to make the changes and how the normal mode is restored afterwards.
Review neighbouring scenes. Turning off one character's sound may not create a quieter experience if another speaker dominates the same area. Use audio-zone planning to consider boundaries and operator ownership.
Provide clear booking or session information where relevant. Visitors should be able to understand the available configuration before arriving. Avoid claiming a session meets every sensory need; explain what has changed and provide a route for specific enquiries.
Make interaction requirements visible
Describe what a visitor must do to activate or enjoy the display. A pressure mat, button, gesture or timed effect can have different implications. Ask whether an equivalent operator-controlled or automatic option is available when the intended interaction is not suitable for some visitors.
For manual controls, the venue's qualified access review should determine location and usability. The supplier should provide product-specific information and supported alternatives. A catalogue photograph of a button does not establish that it will be reachable or usable in the final setting.
Avoid making sound the sole way to understand a critical instruction or story where an alternative is needed. Text, visual cues or staff explanation may help, but their design must fit the actual audience and venue. Do not assume a small decorative sign solves every communication need.
Separate visitor interaction from maintenance access. A control meant for trained staff should not be presented as a public button. Clear documentation helps installers maintain those boundaries in the final scene.
Request product information that supports review
Ask for overall dimensions, movement envelope, base arrangement, connections, supported operating modes and relevant service access. Include finished-side photographs and assembly guidance. These are practical inputs to venue assessment, not an accessibility certificate.
If the supplier uses concept renderings or AI imagery, distinguish them from dimensional evidence and actual sample photographs. A realistic illustration can communicate an idea but cannot prove route clearance or visitor interaction.
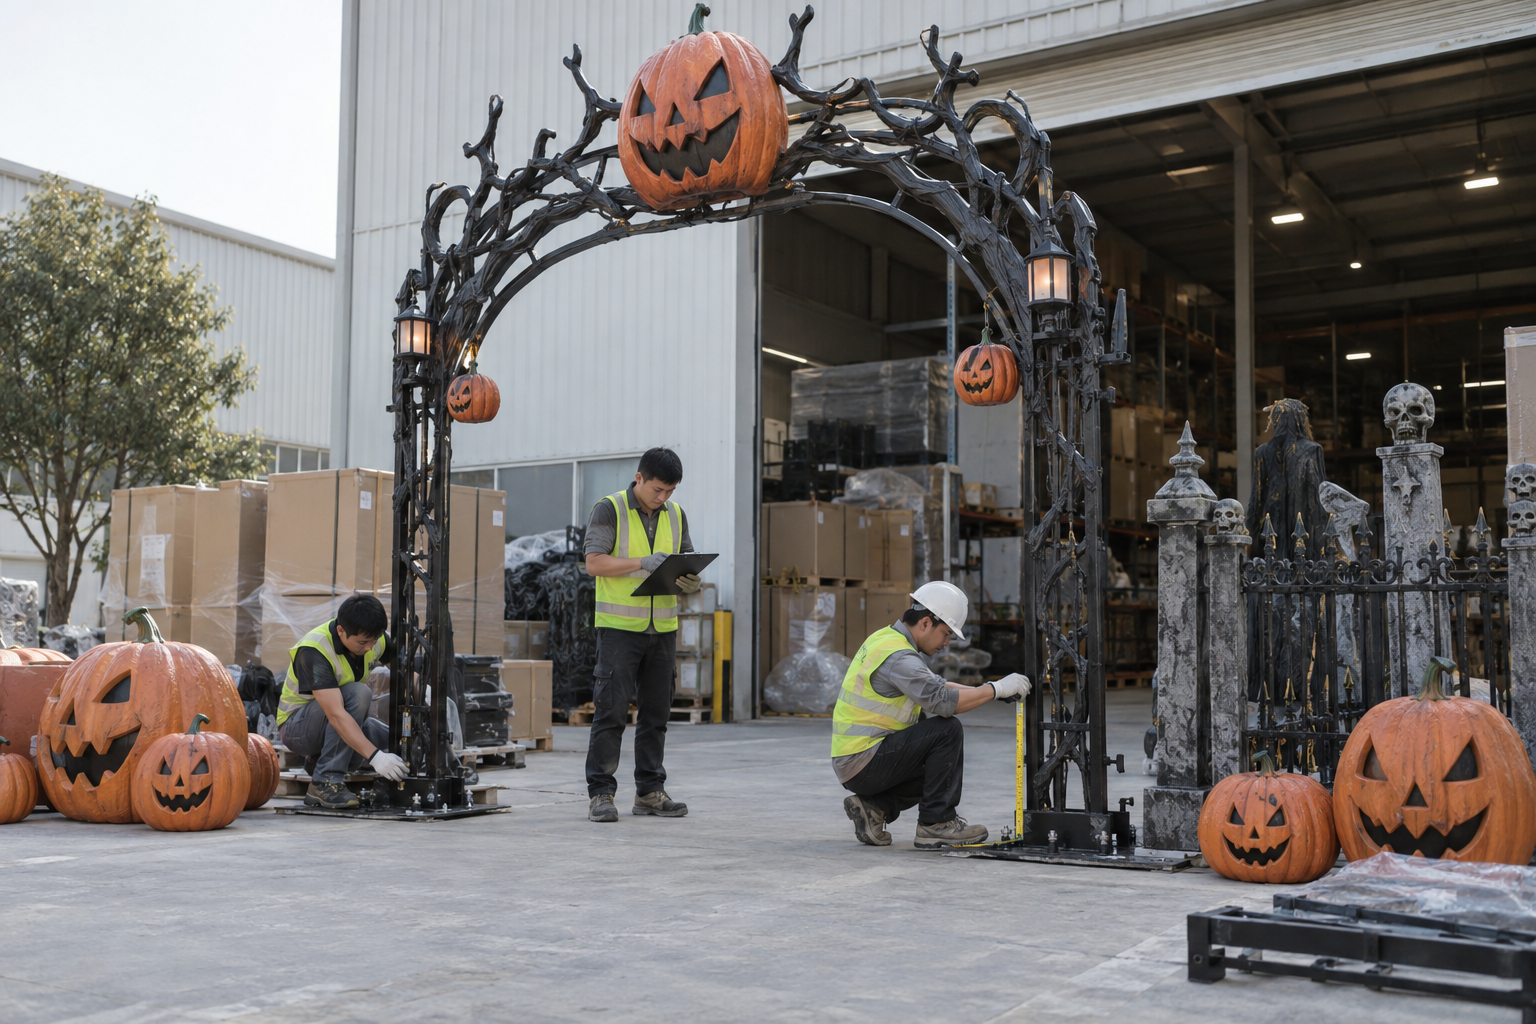
During factory testing, demonstrate the supported modes agreed in the brief. Record the configuration and identify any installation condition not represented. The final venue review should then use the actual setup, not rely solely on factory footage.
At shipment inspection, confirm that instructions and configuration information accompany the correct product revision. A supported quiet mode is not useful if the operator has no practical way to identify or select it after installation.
Run a collaborative scene review
Use a representative mockup or installed sample to review approach, visibility, interaction and departure. Include operational staff and appropriate user input where possible. Explain the scope and avoid treating participants as proof of compliance.
Ask concrete questions: can the principal feature be seen from this position; is the alternative interaction explained; does the route remain usable when a group waits; can staff select the agreed mode? These observations are actionable without requiring visitors to make technical judgements.
Record differences between the mockup and the final installation. Temporary stand-ins, missing neighbouring scenery or incomplete lighting can affect the result. Resolve relevant issues when the actual configuration is available.
Revisit the review after material changes. A new base, louder soundtrack or relocated queue can alter the experience even when the main prop is unchanged. Connect changes to the product and configuration register.
Example: a seasonal photo area with two modes
Imagine a hypothetical venue purchasing a character backdrop with optional movement and sound. The buyer wants a standard presentation and a scheduled quieter mode. The example is a planning scenario, not a claim about a completed BooAri project.
The initial brief records the visitor journey and asks the supplier for dimensions and supported control options. The venue's access adviser reviews the layout, while audience representatives comment on viewing and the clarity of effect information. Responsibilities remain distinct.
A mockup shows that a decorative sign obscures the character for some seated viewing positions. The sign is relocated. The supplier also confirms an approved static configuration, and the operating team documents how to select and restore it.
The audio review finds spill from an adjacent scene. The venue includes that area in the quieter-session configuration rather than assuming the prop alone controls the experience. Public information describes the changes accurately and offers a contact route for questions.
Before opening, the team verifies the installed configuration and records remaining actions. It does not label the product universally accessible. The documented brief supports an informed venue decision and a more useful supplier proposal.
Include access decisions in handoff and maintenance
Give staff the approved layout, operating modes, visitor-information wording and exception route. Explain which changes require review. An installation that starts with clear access planning can deteriorate if temporary signs or stored cartons later occupy important areas.
Build relevant observations into routine opening checks. The venue determines the actual checklist, but it should reflect decisions made during design. Staff should understand the purpose of the arrangement rather than treating every prop location as flexible.
Retain configuration records for future seasons. A new team may otherwise rebuild the scene differently and lose the benefits of the original review. Link access decisions to the physical component and assembly documents.
Use BooAri's custom-project enquiry to share the venue's requirements and review process. Request supported options and product information. The enquiry should help clarify the supplier's scope without transferring the venue's complete access responsibility to a prop quotation.
Buyer worksheet: document an inclusive operating option
Begin with the actual visitor journey. Mark where a person learns about the scene, approaches it, views the main feature, interacts if desired and leaves. Ask the venue's access adviser and representative users to review this sequence. Product data should include relevant dimensions, movement and supported controls, while the venue decides the route and applicable compliance work. A single sample interaction cannot prove universal accessibility, but it can identify concrete issues early.
Describe effects in neutral terms: the prop moves unexpectedly or only after a clearly signalled trigger; dialogue plays continuously or once per group; lights change in a defined pattern. Ask the manufacturer which supported settings allow an alternative mode. For a quieter session, document the actual soundtrack, movement and lighting changes, the responsible operator and the way the normal configuration is restored. Do not announce a broad sensory guarantee when only one speaker has been muted.
Test both viewing and communication. A principal character may be visible from one position but blocked by a decorative sign from another. Instructions delivered only through audio may need an alternative decided by the venue. A low-contrast sign may be hard to use under theatrical lighting. These observations can influence prop placement, signage and staff practice before production is frozen.
Keep the final access brief with the installation and operating records. Check it again after the scene is assembled and when adjacent queues or temporary furnishings change. The buyer should ask for evidence about the actual supported product, not a generic accessible label. Qualified local review and accurate visitor information complete the procurement decision.
Questions to close for accessible use
Ask the supplier for factual product data: dimensions, movement, sound and light behaviour, supported control modes and interaction method. Give these details to the venue's access adviser early. Avoid relying on a marketing claim that a display is universally accessible.
Review the visitor journey with appropriate user input where practical. Check approach, viewing, alternative information and departure. A quiet session should be a documented operating configuration that includes relevant neighbouring scenes, not merely a promise to lower one soundtrack.
After installation, verify the route and information against the actual scene. Temporary signs, queue ropes and stored cartons can change access after an initial review. Train staff on approved modes and whom to contact when conditions change. Retain the decisions for future seasonal rebuilds.
Frequently asked questions
Can a prop supplier certify our whole display as accessible?
Product information supports review, but the complete installation includes routes, interaction, communication and operation. Applicable requirements should be assessed by the venue's qualified team. Do not infer whole-site compliance from a prop's dimensions or marketing description.
Is a quiet mode the same as a sensory-friendly guarantee?
No. Define which effects change and explain the configuration accurately. Visitor needs vary, and neighbouring scenes also matter. Use appropriate audience input and qualified assessment without promising universal suitability.
What should be tested during a mockup?
Review the journey, viewing positions, supported interaction alternatives, information and operating modes. Record limitations of the mockup and repeat relevant checks in the final installation. One successful participant experience does not establish every access outcome.
When should access requirements reach the supplier?
At the enquiry and layout stage, before product and sample approval. Dimensions, movement and controls can influence selection. Late changes may require redesign, so include information and review milestones in the procurement schedule.
Conclusion
An inclusive display brief makes access needs, product information and responsibilities visible early. Review the visitor journey, describe effects honestly and verify supported alternatives. Qualified venue assessment and practical user input remain central to the final decision.
Send BooAri your scene plan, required operating options and access-review process through the enquiry form. Ask for a product-information package and a scoped proposal that supports the venue's review before production approval.
Further reading
Use these external resources alongside your local market, venue and professional safety requirements:
READY TO START A PROJECT?