
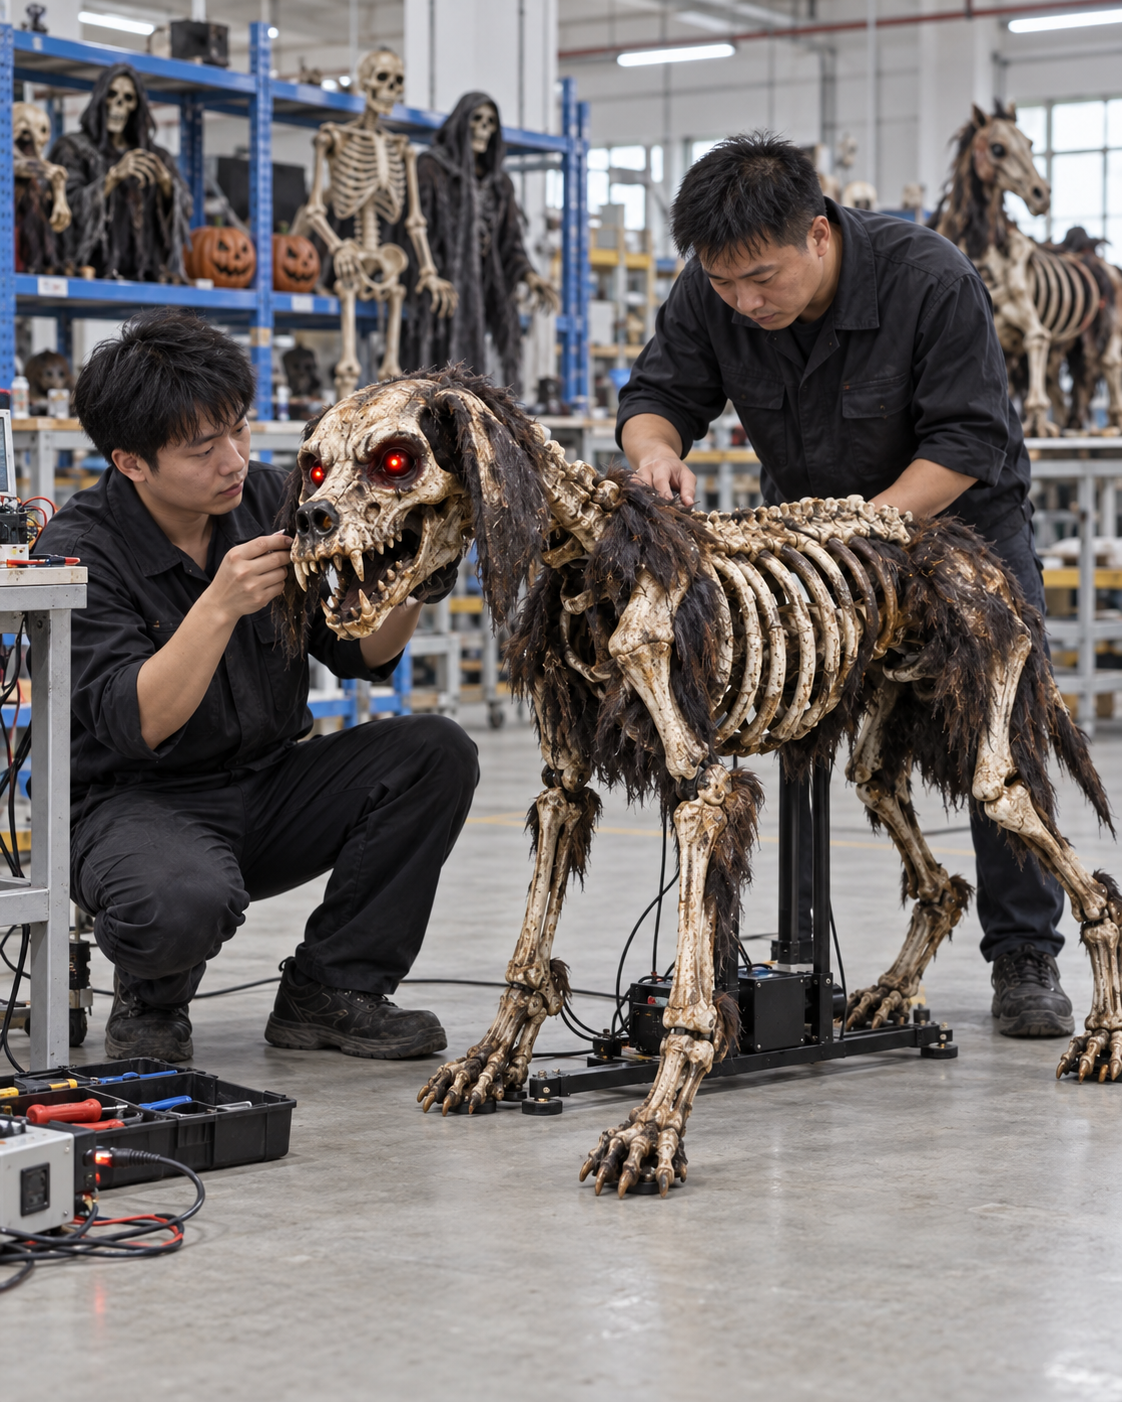
A modular lighted Halloween display is only as installable as the connections between its pieces. A perfectly painted arch can still miss opening night if two visually similar plugs are swapped, a cable is too short for the actual layout, or a joint cannot be reached after the scenery is bolted together. Buyers should specify the interface and acceptance evidence before approving a multi-piece effect.
This guide focuses on product-level connectors, labeling and handoff. Electrical design and site wiring belong to competent local professionals under applicable rules; OSHA's electrical safety resource is a reminder that installed power systems involve more than the prop itself. For show-control signal requirements, see the DMX procurement guide. Do not assume that any generic cable type or connector is appropriate for a given current, exposure or venue.
Draw the physical connection map
Start with the assembled scene. Number every detachable part and mark power source, controller, light module, sensor and any local switch. Show which cable crosses which joint, its route through or around scenic surfaces, and the access needed for installation. A drawing should distinguish product-supplied harnesses from site-supplied distribution. This prevents the manufacturer and installer from each assuming the other owns the same cable.
Record measured routing distance, not a straight-line guess. A cable may need to pass around a base, behind a removable panel and up a frame before reaching its light. Leave a planned service loop without creating a loose cord that can be caught by visitors or cleaners. The local installer should validate the proposed route in the actual site plan.
Key each interface deliberately
Ask whether plugs can be confused with other connections and whether orientation is unambiguous. Where compatible-looking connectors serve different functions, labels alone may not be enough. The designer may use physically keyed interfaces or distinct connector families after considering electrical suitability. The buyer should require a sample that a trained installer can assemble correctly from the provided drawing, rather than prescribing a connector from a catalogue photograph.
Define cable and connector information in the quote
For each harness, ask for connector identification, pin or function description where applicable, cable length, expected routing, strain relief, environmental protection and replacement part number. The qualified electrical designer should define rating and suitability for the product's actual voltage and current. A marketing statement such as 'waterproof plug' is not a substitute for a specification of the whole mated connection and its installed orientation.
Include the connector count in the bill of materials. A detachable wing might require a power cable and separate control cable; a photograph can hide one. If an extension is necessary at site, clarify whether it is approved product hardware or a local installation item. Do not let a field team solve a missing length with an unreviewed adaptor.
In the accessory BOM article, every set has a complete included-parts list. Apply that principle to cables. A spare cable should be identified by function and revision, not only by colour. If the connector changes between production runs, revise the replacement-part record and installation instruction.
Build a representative assembly trial
Factory testing should begin with components in their shipped state. Have a tester follow the proposed assembly instructions to connect the display without undocumented verbal coaching. Record the sequence, any ambiguous plug, awkward bend or inaccessible retention clip. Only then energize the unit under a controlled procedure and demonstrate each light and trigger function.
Test disassembly too. A connector that is easy to push together can be hard to release behind a painted panel. Repeated assembly can pull on wires if there is no accessible grip or strain relief. If the display is intended for touring, repeat the full connect-disconnect cycle under an agreed count and inspect for damage. Do not invent a universal cycle rating; specify the actual planned number of events and ask what evidence is appropriate.
Create a labelled photograph of the final connected state and one of the packed state. These will help the receiving team detect a missing harness. Capture cable paths before decorative covers conceal them, but mark the images as installation references rather than customer-project photographs.
Review exposure and maintenance access
An indoor covered mall and an exposed outdoor walkway call for different electrical and environmental reviews. The product team should describe each connector's exposure, whether water can pool at the interface, and how staff can inspect it. A nominal enclosure rating does not necessarily cover a field-made connector pair or an open panel. Ask the local qualified professional to review the installed system.
At a high-contact display, keep accessible cables out of the visitor zone. If the prop includes a moving component, route harnesses so they do not rub or snag throughout the full motion cycle. Check this while the unit operates, not only when it is still. A service technician also needs safe access to replace a cable without removing an unstable scenic section.
Plan daily opening checks: visible cable damage, fully seated connections, secure covers and expected light response. Define a stop-use condition for exposed conductors or damaged connectors. Do not ask a nonqualified attendant to repair electrical faults while the system is energized.

Compare two offers on a complete harness scope
Ask each supplier to price the same installed layout, section count and site interface. Note what is included: internal wiring, inter-section cables, controller-to-prop cables, adapters, labels, spare harnesses, drawings and factory test. A low unit price that excludes the critical inter-section cable is not a cheaper installable solution. Mark exclusions and local responsibilities explicitly.
A hypothetical venue has five identical lighted tombstones across a path. The buyer might prefer individually replaceable harnesses so one damaged piece can be isolated. Another venue with one large fixed gateway may prioritize concealed permanent routing. These are planning examples, not evidence of BooAri installations. Both need the same discipline: measured site route, approved connection map and qualified electrical review.
Shipment and arrival inspection
At pre-shipment inspection, count every cable by part number and set. Confirm labels survive handling and match the drawing revision. Demonstrate the final production unit before packing. At arrival, inspect for crushed pins, damaged seals and frayed cable, then follow the handover sequence. If the destination installer changes the routing, record that change so the next maintenance team knows what was actually built.
Make a connector matrix for every scene section
Create one row for each connection: source part, destination part, connector type chosen by the qualified designer, cable ID, nominal length, pack location and replacement ID. Add a small photograph of the mated interface. This lets receiving staff see whether the system is complete before a technician powers it. For a modular gate, the left and right side may look symmetric but require different harness lengths or control addresses. A matrix avoids assuming that visual similarity means interchangeability.
Run a paper exercise with the proposed carton plan. Give an installer the drawing and inventory but no verbal assistance. Ask them to place every cable with its intended section. If a label is readable only after a cover is removed, move it or revise the instruction. If the connector can reach the wrong socket, ask the designer whether physical keying or routing changes are appropriate. A warning note alone may be too fragile a control for a hurried load-in.
At inspection, verify cable count and identity before the system is connected, then record a full function test after assembly. A pass should identify the production unit and configuration. When a cable is replaced later, the record should show which revision was fitted. This is particularly valuable when the display is dismantled and rebuilt at another venue.
Field maintenance and spare-harness logic
Choose spares according to failure consequence and replacement access. A short harness buried inside a sealed figure may be better installed and inspected at the factory than stocked for venue staff. An external detachable cable that can be damaged during every load-in may justify a labeled spare. The venue must know whether replacement is an authorized operator action or qualified electrical work. Do not describe every plug-in part as user-serviceable.
Inspect after teardown as well as at opening. Look for bent pins, loosened retention, abrasion, crushed insulation and missing protective caps. Return each cable to a designated compartment; coiling it around a painted projection can damage both. Keep a damaged cable physically segregated from usable spares and log its part ID. A simple, consistent process prevents a failed harness from returning to service next season by mistake.
Decision review: make the evidence comparable
Before selecting a quotation, write a one-page decision record for avoid installation and replacement errors. Start with the customer requirement, not a supplier feature. The same installed dimensions, destination, display period and approval date should appear on every option being compared. If two offers use different product scope, record the difference as a separate alternate. Otherwise a cheap option may simply omit work that the other bidder included.
For this guide, the useful sample is a full modular connection sequence from unopened cartons. Ask for its revision and say what it can and cannot demonstrate. The critical inspection focus is plug identity, cable length, strain relief and full-effect function. Set the viewing or operating condition in advance, then photograph or record the outcome. The person approving the sample should know whether a visual result, a technical function or a packing action is being accepted. One attractive image does not cover all three.
The packing question is every harness bag linked to a section and part number. Measure or verify the proposed shipping unit rather than assuming an installed dimension will predict freight. At the site, the practical question is whether the qualified installer can route cables without public contact or crushing. Ask the receiving and operations teams to answer it before the purchase is called complete. If they cannot answer from the supplier's proposed evidence, the project has an unresolved interface, not merely a documentation preference.
Keep a short decision log
Create columns for requirement, offered configuration, evidence, owner, approval status and unresolved risk. Mark evidence as a physical sample, drawing, supervised test, production record or professional site review. Those are not interchangeable. A factory test can validate a product function; it cannot approve unknown local conditions. Conversely, a site plan can show access but not prove the final batch matches the sample. Give each open item a person and date rather than leaving it in an email thread.
Challenge the proposal with a failure scenario
Imagine that two similar plugs are reversed and a light module fails the first site test. Ask what the operator would first observe, what should be stopped, which record identifies the affected unit and what corrective action can be checked. This is a stress test of the proposed purchase, not a claim that the failure has happened in a BooAri project. The answer may reveal a need for a revised sample, a clearer part ID, a different pack, or a local professional decision.
One viable route to examine is physical keying or a clearer connection map, not an unreviewed adapter. It is an option to test, not a universal prescription. Estimate its effect on price, lead time, appearance, freight and maintenance. If the alternative changes the approved specification, issue a new revision and repeat the affected checks. Do not rely on verbal assurances that the change is minor. The buyer should be able to trace why the new option was accepted.
Close the record only when the buyer, supplier and destination owner agree what will be shipped and what remains a site responsibility. At shipment inspection, compare the production item and documents with that decision record. If the product arrives later with a changed component, the record tells the team which approval must be reopened. This discipline is more useful than a vague claim that a prop is 'commercial grade' because it ties the actual purchase to observable evidence.
Final interface release question
Ask a person unfamiliar with the prototype to connect one production set using only the supplied drawing and labels. If they need to guess which cable belongs to the left wing or where the controller output goes, stop and revise the handoff. A successful bench demonstration by the same builder who wired the prop is not a sufficient test of installability.
At the venue, record any approved cable or routing change on the as-built map. A future service technician should not need to pull apart painted scenery to discover that a cable was extended on opening night. If the display tours, compare the harness condition and label legibility after each load-out. Replace damaged leads under the qualified team's procedure rather than returning them to a spare box.
Frequently asked questions
Can a buyer specify any connector that looks weatherproof?
No. Rating, current, mated condition, exposure and installation determine suitability. Let the qualified product and site electrical teams choose and verify it.
Are color labels enough for modular props?
They help, but can fade, be hidden or be confused. Use part numbers, drawings and appropriate physical keying where necessary.
What should the sample test include?
Unpack, identify, connect, operate, disconnect and repack the intended sections using the written instructions, noting any ambiguous or strained interface.
Who supplies the cable from building power to the prop?
The quote and site handoff must say. Do not assume it is included with the prop or that venue staff can improvise it.
Conclusion
Treat connectors and cables as designed product components rather than invisible accessories. A documented map and repeatable sample trial make a modular lighted display more installable. Send BooAri a layout, power context, section plan, destination and operating schedule through Send Your Requirements to define a reviewable harness handoff.
Further reading
Use these external resources alongside your local market, venue and professional safety requirements:
READY TO START A PROJECT?